Wednesday, May 16, 2012

Freshly Picked - Flower3

Hey! Are you surprised to see me? Something had to give, and unfortunately it was the blog. Between working, making/selling Mother's Day Cards, bridal shower gifts, starting graduation stuff and cleaning up and working on the backyard/garden...life has been CRAZY!!!! Crazy good, but crazy!

Here is another cut from the Freshly Picked cartridge. I used it to make Mother's Day cards. I think it would also make cute birthday cards or any sort I'm thinking of you card. Here is the rough draft.


After I decided I liked how it went together, I cut out a bunch!!


I used my Gypsy to weld two shadow pieces together for the card base.
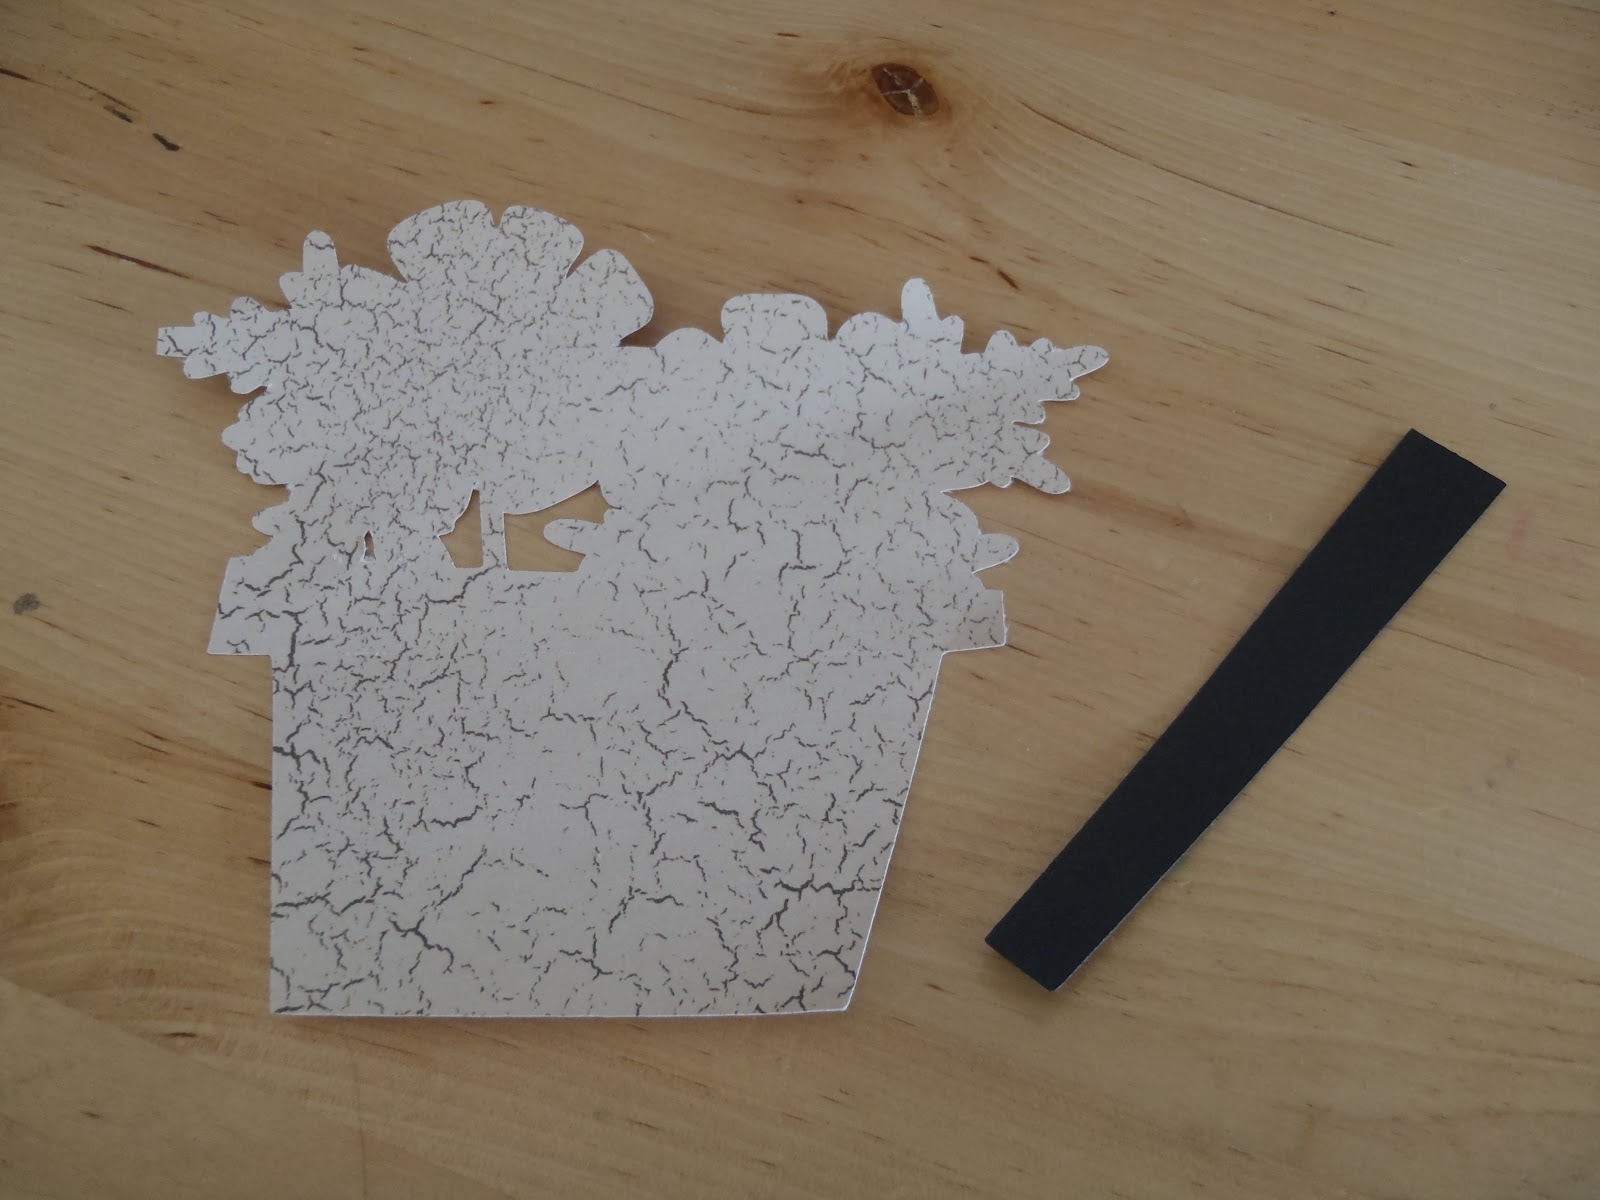
All other layers that I cut are shown above.


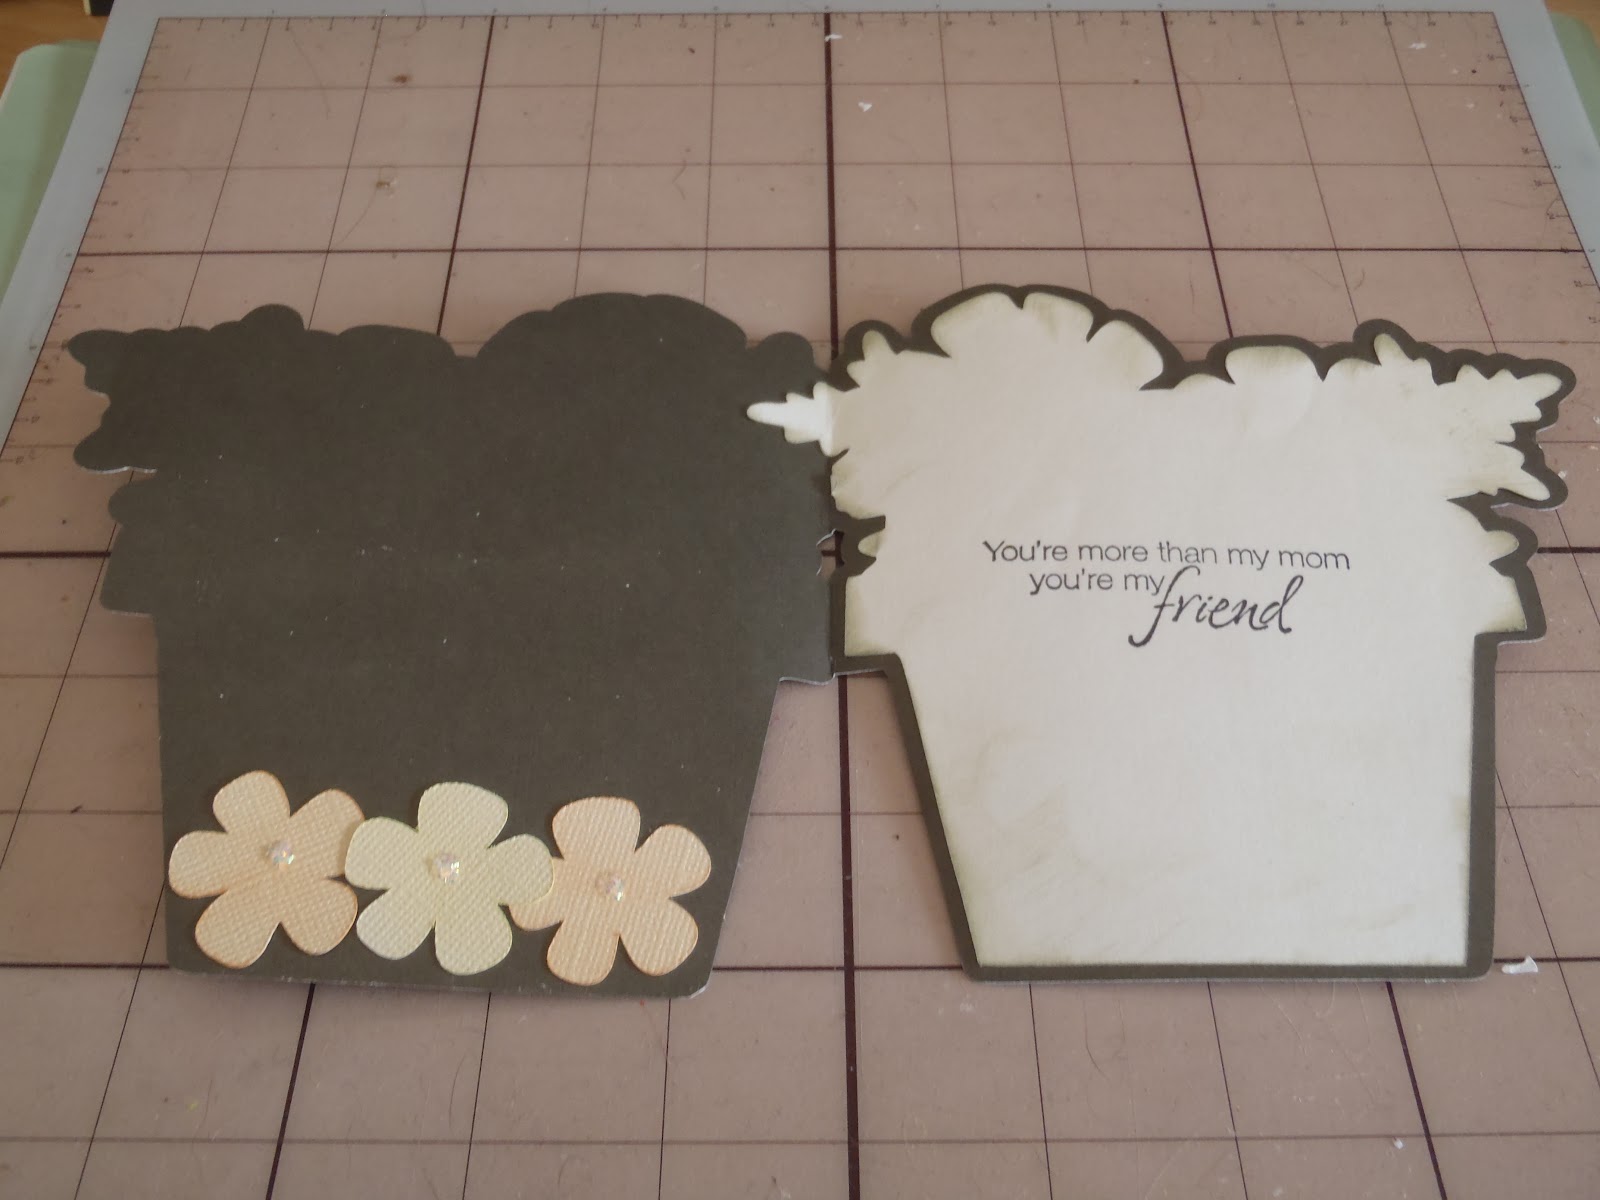
The inside of the rough draft.


The first two pieces I adhered together were these two.


I cut this layer out of different patterned papers. I wanted to see how both would look!
I like them both. I do think I like one more than the other. How about you?


I inked around the edges of most layers to add some dimension/depth.


Added the flowers.
I did use foam dots between layers to give it even more depth/dimension.


These ones are waiting to be attached to the card base.


Attached to the card base and with sentiment.


Waiting for outside sentiment.


A different outside sentiment.


Here's a peek at all 4 done with their envelopes.
I ended up having to make envelopes for these cards because the envelopes I had on hand
were 1/4 inch too small. I will do an envelope post all by itself.
I do love the effect of the coordinating envelopes though.


Most of the cards had the sentiment seen above.
I inked around the edges of this layer with ink that matched the flowers on the front of the card.
As always, I added a little stamp to the back of my envelope.


I always sign my cards and add some sort of fun stamp to the back of them too.

I think these cards turned out fantastic. The pictures truly don't do them justice.
I have lots I want to share so lets hope things are settling down a little bit and I can share and catch up with all of you. Not only have I neglected my blog, I've neglected all yours too. I'm very sorry.

I hope all your projects are going well!
Thanks for stopping by!
hugs!!!! ~jen

Wednesday, May 9, 2012

Quick and Easy Mother's Day Card

We are using basic supplies to make this one! This card was inspired by the paper. Let's take a look.


As soon as I saw this paper I knew I NEEDED to have it.
I had no idea what I needed it for, but I needed it.
Well, it sat here and sat here and sat here some more.

I don't know where the idea came from, but I like it.
It was a little outside my comfort level, but I love how it turned out.

The paper and the stamps...


What I did...
1. I stamped the mother stamp.
2. Cut around the stamp.
3. Inked around the edges of the white paper.
4. Adhered the Mother stamp image to black paper.
5. Cut the black paper.
(most people probably measure their pieces ahead of time, I do not. I stamp, cut, adhere cut)
6. Cut the black toile paper slightly smaller than my card base.
7. Tied a bow around the toile paper, using some adhesive on the back to help it stick and to keep the toile from raising up off the card base later (this might be a lesson learned, I can neither confirm nor deny)
8. Adhered the toile to the card base.
9. Used foam dots behind the mother image and adhered to the toile.
The front is done! :)
Here's another look.


Here's a look at the inside.


The inside was pretty simple.
1. Cut the white paper slightly smaller than the card base.
2. Ink the edges of the white paper.
3. Stamp the sentiment.
Done!

I hope you like it!!!

Here's a peek at an upcoming post.
Chive Blossom Vinegar


I hope everyone is well!!!!
hugs ~jen

Monday, May 7, 2012

A Bridal Shower Game idea

Hey! How is everyone? I've been doing some blog contemplating. I guess I have had a hard time posting lately because I felt it needed to be a post about something we have created (the name and all). I've decided that it really will be ok to post about things that aren't always creative too...hoping that is ok.

Today's post is a creative post. This post has been waiting for yesterday to come and go. If you remember the bridal shower gift I posted about last month (found here), well that was part one. Part two took place yesterday. Steph, yep the one I always talk about, {love her} is in the wedding. She came across this idea on Pinterest and wanted to adapt it ...


The idea is off Craftaholics Anonymous and her blog can be found here

Steph wanted to do tiaras and something that was more personal to the groom than a mustache.
We looked through my Cricut Cartridges and decided on a fireman's helmet since the groom is a fireman.


Pink and green tiaras for the bride.
Pink and green are her colors.


Fire helmets for the groom.

The Bride and Groom were asked the same questions.
The question and an answer was given to those in attendance.
If you thought the answer was the Bride's answer, you raised your tiara --
If you thought the answer was the Groom's answer, you raised the helmet.

Both cuts are off the Create A Critter Cartridge.

Cute huh? I was not in attendance at this shower. We went greenhouse hopping with my Mom this weekend. That is a post in itself. We had fun. Anywho. I haven't seen any picture of the tiaras/helmets in use. If I do I will pass them along. Perhaps we can get Steph, or Nicole, or one of the girls,  to post some to the facebook page. ;)

I hope everyone is well. Thanks for stopping by!

LinkWithin

Related Posts Plugin for WordPress, Blogger...