Showing posts with label old doors. Show all posts

Wednesday, October 17, 2012

Have you repurposed lately? A photo door? Yep!

Hey everyone! I think this just might be our favorite project yet!!! Today's project stems from looking for ideas for our photo wall that one day will be complete in the dining room. I was on that crazy site called Pinterest and saw this picture:


Doesn't that look pretty cool.
Seeing the picture reminded me we had a door sitting in the basement.
A FREE door at that!!! The neighbors had given it to us a couple years ago.
I grabbed the "upstairs" measuring tape (because I knew where IT was) and went downstairs to do some, well, measuring!!! The door was in this pile inventory!


 Of course, the door I wanted is the one actually leaning against the wall.
Go figure!
So I measured! I came upstairs and measured the dining room wall. The window part of the door would fit on the dining room wall. However, the more I thought about what I want that wall to look like and how much I love this door, cutting the door and using it on the dining room wall didn't seem like the best idea.

BUT WAIT! THERE'S MORE! 
(you know you just laughed at that!)

Back downstairs I went and measured the WHOLE door and back upstairs I came to measure this decorating PAIN IN THE BOTTOM wall in our bedroom.  Soon Jim hears "WE DON'T HAVE TO CUT IT!! IT WILL FIT ON THE BEDROOM WALL!" 
Um, the neighborhood might have heard that too, but hey!

I do love the door as a door and would really like to find a way (someday) to use it as a door, so cutting it really just didn't seem like the best way to use it. We talked about painting it antique white and hanging it on the bedroom wall.  When we pulled it out we discovered that one side was already painted.


 SO! A girl now has options.
I took a picture of the painted side and I took a picture of the unpainted side


Back upstairs I go, camera in hand this time.
If you were here, you would have seen me standing in the bedroom turning the camera this way and that and flipping back and forth between the pictures. After getting a small idea of what the painted door would look like, I decided that I didn't want the door painted. (Thank goodness for it already having a painted side!)
Life just got a little easier too. No need to paint and wait for the paint to dry.
Get out the Murphy's Oil Soap and some window cleaner! This puppy is going on the wall today!
(As soon as we figure out how to do so!)

So we got the door all washed up and windows all clean!
While cleaning it, Jim suggested we just turn the hinges around and hang it by the hinges.
This thought frightened me a little bit since we would be hanging it on these awesome old plaster walls!
But hey, don't know unless you try right?
Try we did, and success we had!


Here is the wall the door was going on.
I would show you a picture of the ridiculous shelf that would laugh at me every night because it knew it was hated, but that is how much I hated the shelf. The shelf was a classic example of "This will be sooooo cool" and then it is about the furthest thing from cool possible. Problem solved now! Goodbye little shelf.

Jim's Dad happened to stop by about this time. (thank goodness too)
Jim asked him if he would mind helping hang a door on the wall.
Yep! He said Hang a what where???


The door is up. The wall didn't crumble. No one got hurt. Jim's Dad said, "Wow! Who knew a door could look so good on a wall! I don't know where you guys get all these ideas, but I would never think of them, or do them!"
I used a wreath/door hanger and hung a basket on it and filled the basket with some wheat/oak looking filler.
It looks pretty cool just like this don't you think?
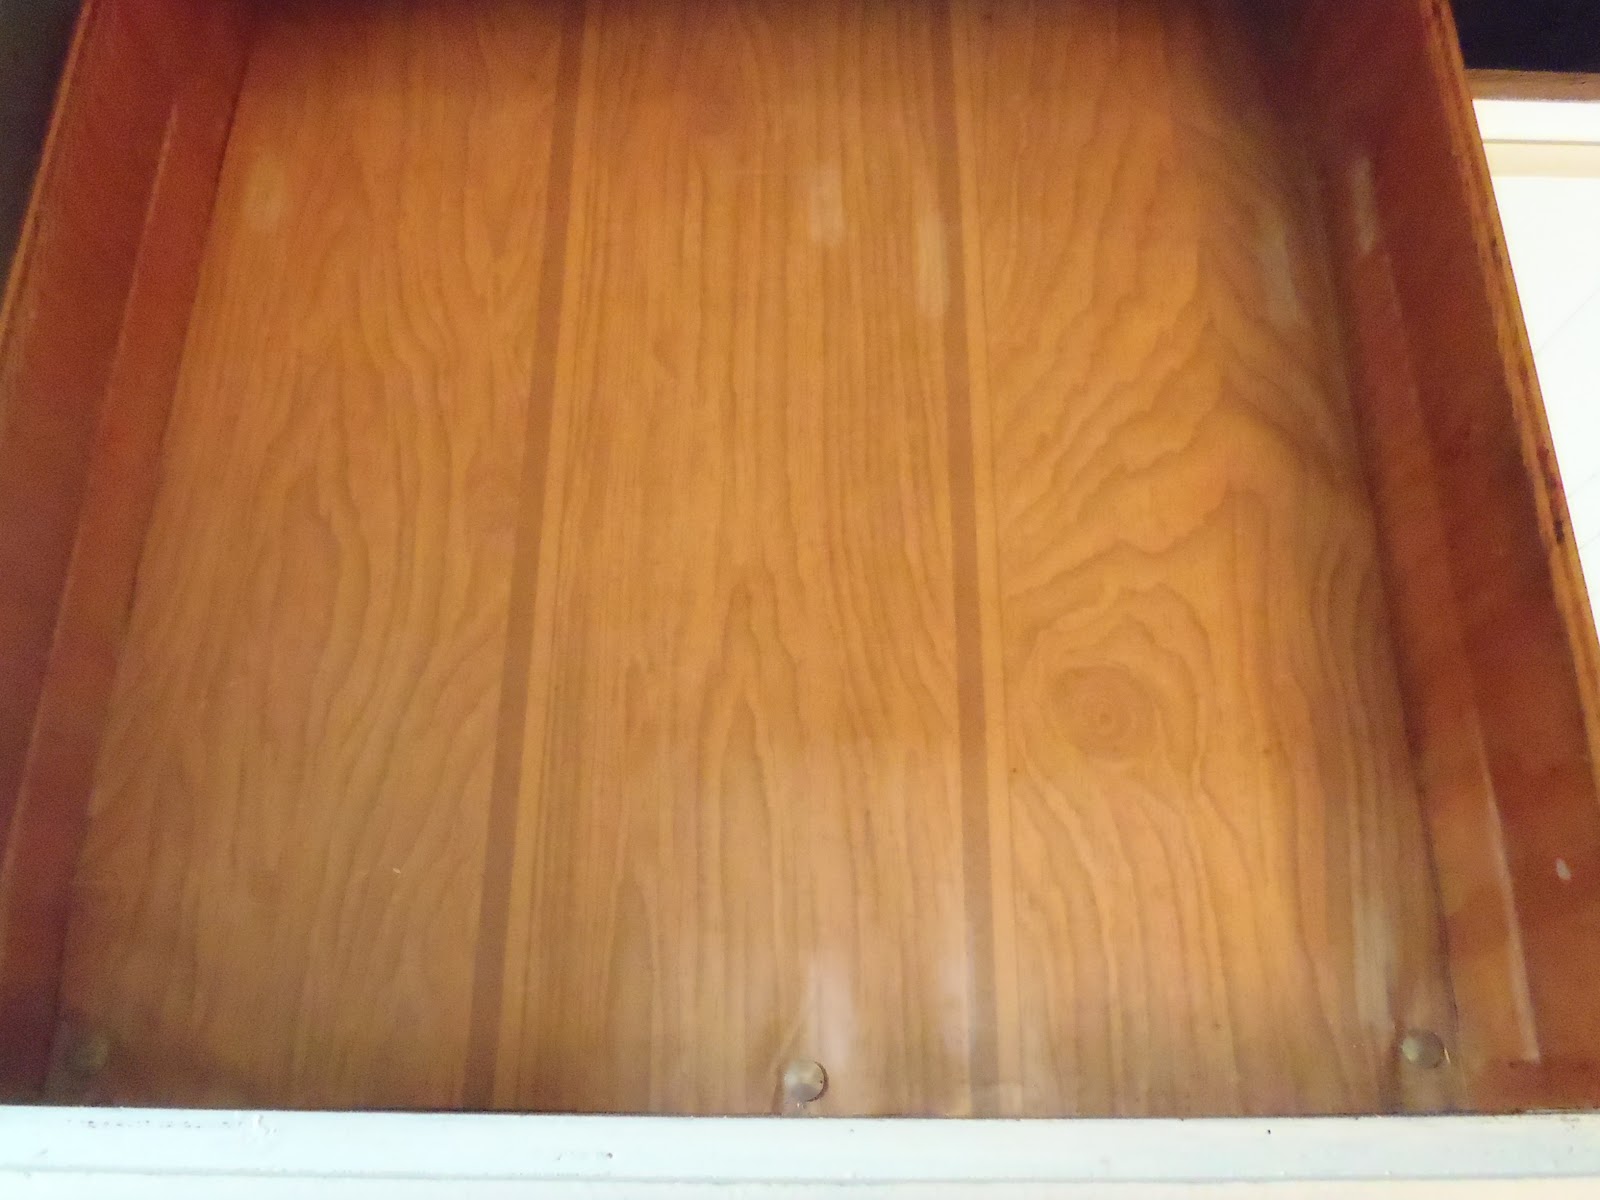
This was the color of the door on one side, just as we got it!
Now we have to wait to get the pictures printed.


Pictures have been printed.
Pictures have been put on cardstock 'mats'.
Glue dots were put on the front of the mats and then stuck to the glass on the back side of the door.
I thought I had photo corners, but I didn't. Glue dots did a fine job too!

The next time we do a project like this, the pictures will be adhered BEFORE the big heavy object gets attached to the wall. Just sayin'

I love it, love it, love it!!
Don't you?

Alright so, I wish I could take all the credit, but like I said earlier, I was inspired by "At Home with Sweet T.
Her door has more windows than mine. It looks very cool where she hung it and she put more work into hers than we did. I hope you will stop over and check out her door and the other cool projects she has!

Thanks for stopping by!
I hope you will leave some comment love!
Hugs
~Jen

Linking up here:
It's Overflowing

shabby creek cottage
Fridays Unfolded
Photobucket
Made in a Day

Funky Junk's Sat Nite Special
Happy Go Lucky

Wednesday, August 15, 2012

Have you repurposed lately? A "new countertop"

Have you all survived the dog days of summer? We have cooled down here. I actually had to break out a hoodie the other night. Also for the first time in a long time, the thermostat dropped below 70. We don't have central air. That isn't possible in some parts of the country and with these summers getting hotter it might not be possible here much longer.

We were both on vacation last week! I don't have any tropical paradises to share with you, I have something better! Lots of transformations from around the house. It was quite the productive vacation. I, do, get the impression Jim would have liked to relax a little more than we did, but...

Our vacation accomplishments include:
1. An overnight stay with my family. We picked up my Grandma's china cabinet and lots of other goodies while we were there. Made some memories.

2. Picked lots of produce from our garden and canned most of it!

3. Got the china cabinet(s) rearranged and the clutter from that project put away in time to cover the dining room table with the contents from the pantry and all the cupboards near the pantry. I wish I had taken a photo.

4. The dining room table was covered in kitchen products because we added 5 feet of counter space!

5. Some little projects with things that had been sitting around the house.

6. Repurposed another old ladder (this one my Great Grandfather's) into a quilt rack.

7. We visited the moving Vietnam Wall while it was in town. Had birthday dinner with some friends that night too.

8. Jim made an amazing dinner on my birthday and peach crisp from fresh local peaches. YUM!

9. We hit a couple sales and found a few good buys.

10. We watched a lot of Olympic coverage.

It was a productive vacation. I didn't have to go to the office and that was what mattered!!!

Today's post is about number 4! The counter space. We called it "Operation More Counter Space"


Here is a peek at the end product!

And now here is the story.


These two pieces play a very important role in this story.
We picked the door up at a place in Pittsburgh called Construction Junction. It has been sitting in the basement ever since, just waiting for its "new life." The shutter came from a sale somewhere and has also been waiting for its "new life."


When we bought the house we gutted the kitchen. Yes, I mean gutted!!!!
Jim's Mom redid her kitchen about the same time so we received all the old cupboards out of her kitchen.
They were ours to use as we pleased. One of the pieces was this AWESOME pantry with spice shelves on the inside of the doors. We loved the pantry so much and had it in our heads where it was going that we saw nothing else. The doors on the bottom right are the doors to the pantry. We made the rest of it look like it was one piece. Pretty cool, but.. if we take it out, we can GAIN 5 feet in counter space!!


Here is a peek to the inside, including the spice shelves.


The original cupboards have been in the basement serving a purpose in Jim's shop.
So while things were displaced upstairs, there were plenty of things displaced downstairs, because Jim had to empty this puppy out to bring it upstairs.


Needless to say, this blue wasn't welcome in the kitchen.
Painting must be done.


 The drawers after a coat of paint.


Oh my!!! Look at that wall.
The things you forget about once you cover them up!!


LOOKING BETTER ALREADY!!!!
Don't ya think??


Here is where the shutter comes into play...
Yes, I started grinning at this point.


We took the pantry outside and cut it to the size we wanted.
We brought it back in and...wah lah!


A look at the shutter being painted.
Had to start somewhere and the shutter seemed like the best place since it was the piece holding some suspense!


A look at the paper that lined only ONE Of the drawers.
IT IS GONE!!!!!


All painted up and put back together!!
Can you tell there is a shutter there at first glance?
How about a door?


The door is our NEW countertop!!!!!!
We even kept the hardware!


Please pardon the clutter on the table, but it is canning season...


We also had this cabinet upstairs.
If you look in the picture just above this one you can see this cabinet now hanging on the wall.
I LOVE IT THERE!!!!
I now have a towel draped over the door as well as the ladle holding the candle that can be seen in the next picture.


This basket and candle holder were displaced because we, ok Jim, used one of the "leftover" pieces of the spice shelves as a spice shelf. It was painted up and hung here.


Pretty Nifty huh?


Here is a close up look at the cabinet in its new home!
Want to know why the right door is closed?
First, if it were open it would be in the way when you came in the back door.
Second, it is hiding the bottles that hold the liquid that gets poured into 
the glasses you can see. ;)

In the end, we gained 5 feet of counter space and actually gained cupboard space too!!
It just changes the whole look of the kitchen!!
The only expense we had was a piece of plywood to make the bottom for the "upper cupboards."
I still walk in and am amazed at how different it looks and that our countertop is A DOOR!!!!

What is your favorite part???


Update 8/19/12! This post received the "I think outside the box" award at My 1929 Charmer. Thanks Cathy!!

I was featured on My 1929 Charmer Blog!


Partying at the following fun spots!!!
shabby creek cottage

MightyCrafty.me
I'm a Fan of My 1929 Charmer Blog!


LinkWithin

Related Posts Plugin for WordPress, Blogger...