Wednesday, May 16, 2012

Freshly Picked - Flower3

Hey! Are you surprised to see me? Something had to give, and unfortunately it was the blog. Between working, making/selling Mother's Day Cards, bridal shower gifts, starting graduation stuff and cleaning up and working on the backyard/garden...life has been CRAZY!!!! Crazy good, but crazy!

Here is another cut from the Freshly Picked cartridge. I used it to make Mother's Day cards. I think it would also make cute birthday cards or any sort I'm thinking of you card. Here is the rough draft.


After I decided I liked how it went together, I cut out a bunch!!


I used my Gypsy to weld two shadow pieces together for the card base.
All other layers that I cut are shown above.
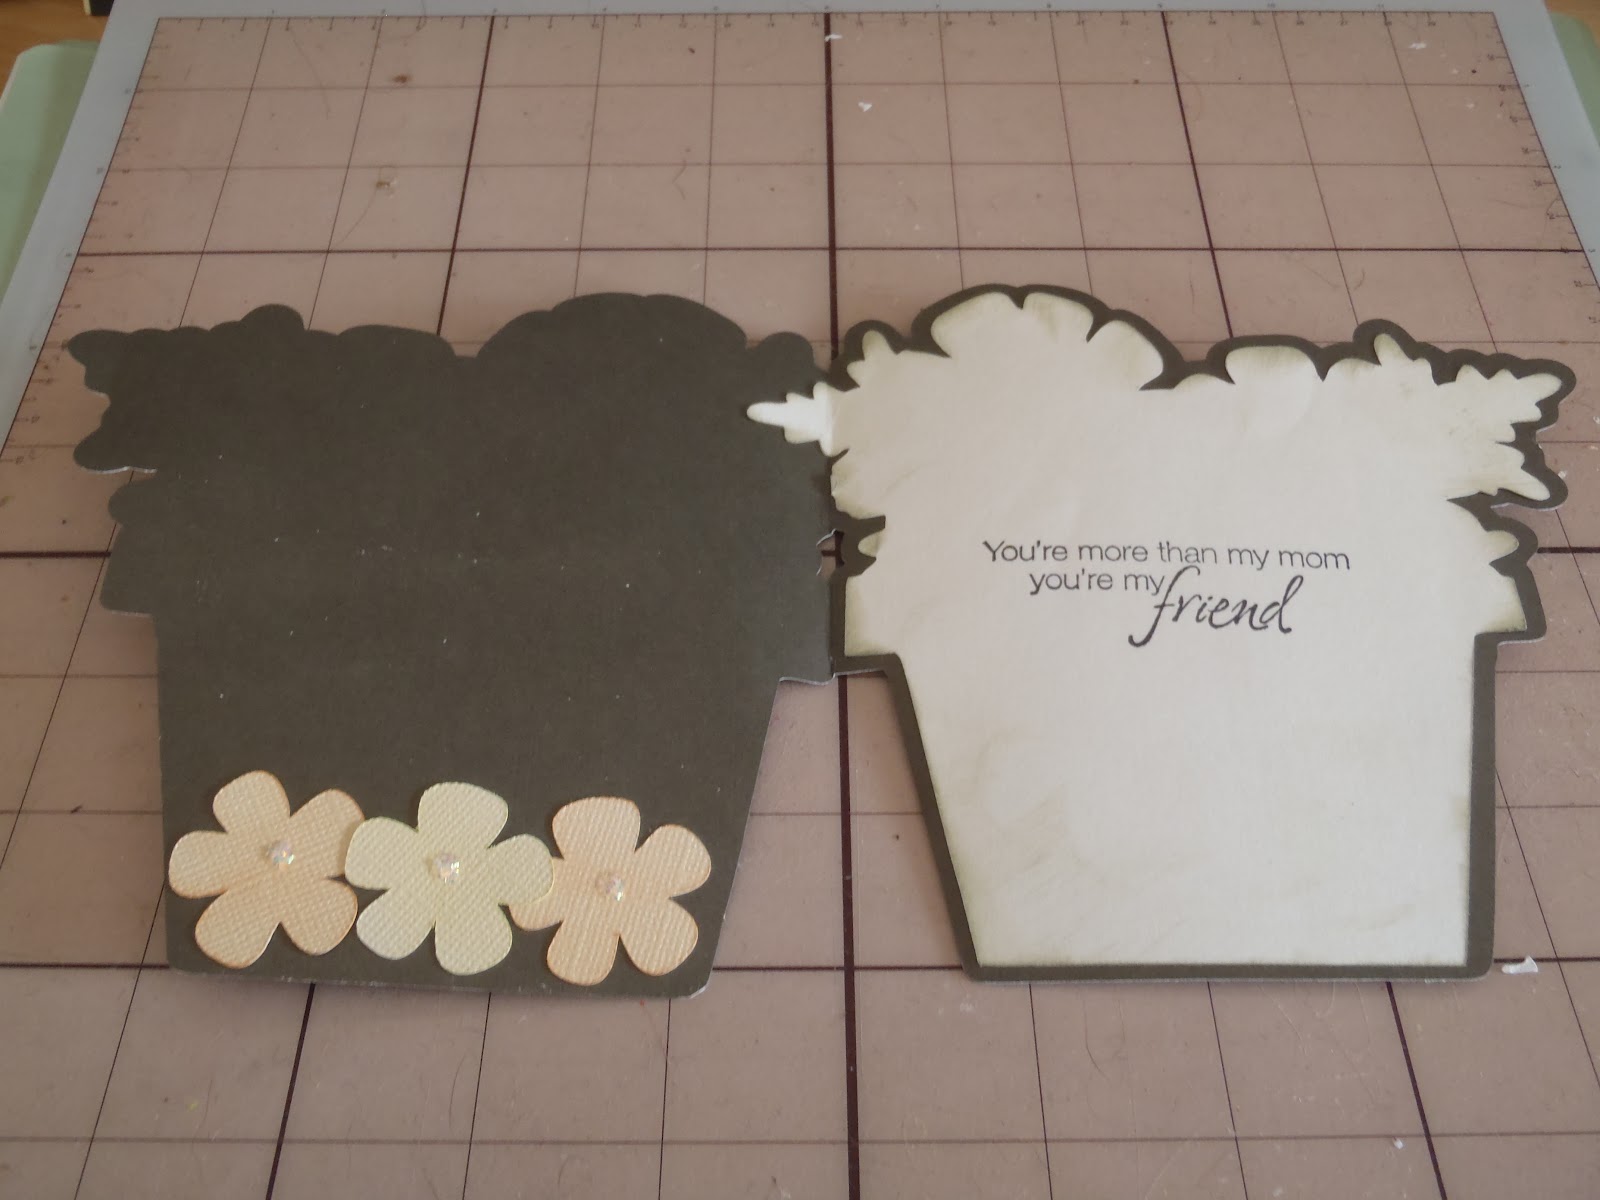

The inside of the rough draft.
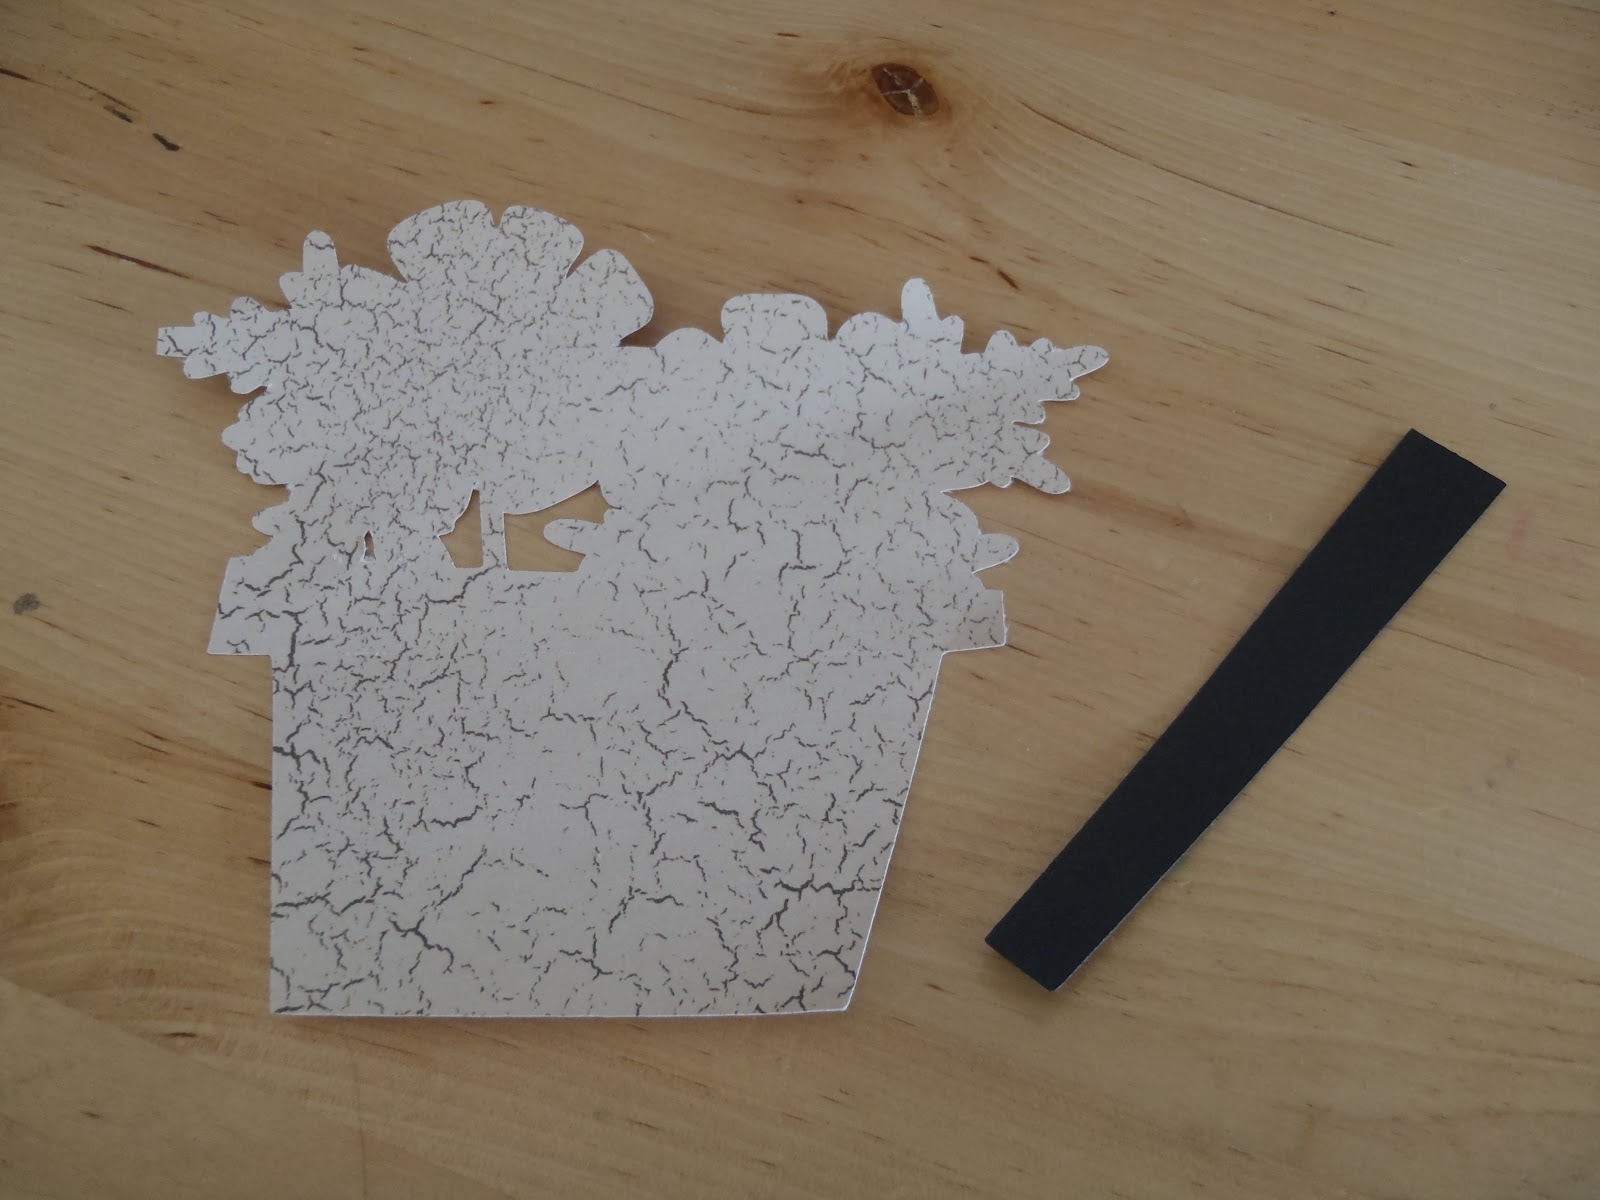

The first two pieces I adhered together were these two.


I cut this layer out of different patterned papers. I wanted to see how both would look!
I like them both. I do think I like one more than the other. How about you?


I inked around the edges of most layers to add some dimension/depth.


Added the flowers.
I did use foam dots between layers to give it even more depth/dimension.


These ones are waiting to be attached to the card base.


Attached to the card base and with sentiment.


Waiting for outside sentiment.


A different outside sentiment.


Here's a peek at all 4 done with their envelopes.
I ended up having to make envelopes for these cards because the envelopes I had on hand
were 1/4 inch too small. I will do an envelope post all by itself.
I do love the effect of the coordinating envelopes though.


Most of the cards had the sentiment seen above.
I inked around the edges of this layer with ink that matched the flowers on the front of the card.
As always, I added a little stamp to the back of my envelope.


I always sign my cards and add some sort of fun stamp to the back of them too.

I think these cards turned out fantastic. The pictures truly don't do them justice.
I have lots I want to share so lets hope things are settling down a little bit and I can share and catch up with all of you. Not only have I neglected my blog, I've neglected all yours too. I'm very sorry.

I hope all your projects are going well!
Thanks for stopping by!
hugs!!!! ~jen

Wednesday, May 9, 2012

Quick and Easy Mother's Day Card

We are using basic supplies to make this one! This card was inspired by the paper. Let's take a look.


As soon as I saw this paper I knew I NEEDED to have it.
I had no idea what I needed it for, but I needed it.
Well, it sat here and sat here and sat here some more.

I don't know where the idea came from, but I like it.
It was a little outside my comfort level, but I love how it turned out.

The paper and the stamps...


What I did...
1. I stamped the mother stamp.
2. Cut around the stamp.
3. Inked around the edges of the white paper.
4. Adhered the Mother stamp image to black paper.
5. Cut the black paper.
(most people probably measure their pieces ahead of time, I do not. I stamp, cut, adhere cut)
6. Cut the black toile paper slightly smaller than my card base.
7. Tied a bow around the toile paper, using some adhesive on the back to help it stick and to keep the toile from raising up off the card base later (this might be a lesson learned, I can neither confirm nor deny)
8. Adhered the toile to the card base.
9. Used foam dots behind the mother image and adhered to the toile.
The front is done! :)
Here's another look.


Here's a look at the inside.


The inside was pretty simple.
1. Cut the white paper slightly smaller than the card base.
2. Ink the edges of the white paper.
3. Stamp the sentiment.
Done!

I hope you like it!!!

Here's a peek at an upcoming post.
Chive Blossom Vinegar


I hope everyone is well!!!!
hugs ~jen

Monday, May 7, 2012

A Bridal Shower Game idea

Hey! How is everyone? I've been doing some blog contemplating. I guess I have had a hard time posting lately because I felt it needed to be a post about something we have created (the name and all). I've decided that it really will be ok to post about things that aren't always creative too...hoping that is ok.

Today's post is a creative post. This post has been waiting for yesterday to come and go. If you remember the bridal shower gift I posted about last month (found here), well that was part one. Part two took place yesterday. Steph, yep the one I always talk about, {love her} is in the wedding. She came across this idea on Pinterest and wanted to adapt it ...


The idea is off Craftaholics Anonymous and her blog can be found here

Steph wanted to do tiaras and something that was more personal to the groom than a mustache.
We looked through my Cricut Cartridges and decided on a fireman's helmet since the groom is a fireman.


Pink and green tiaras for the bride.
Pink and green are her colors.


Fire helmets for the groom.

The Bride and Groom were asked the same questions.
The question and an answer was given to those in attendance.
If you thought the answer was the Bride's answer, you raised your tiara --
If you thought the answer was the Groom's answer, you raised the helmet.

Both cuts are off the Create A Critter Cartridge.

Cute huh? I was not in attendance at this shower. We went greenhouse hopping with my Mom this weekend. That is a post in itself. We had fun. Anywho. I haven't seen any picture of the tiaras/helmets in use. If I do I will pass them along. Perhaps we can get Steph, or Nicole, or one of the girls,  to post some to the facebook page. ;)

I hope everyone is well. Thanks for stopping by!

Wednesday, April 25, 2012

How are you cock-a-doodle-doing?

Hi Everyone! I made these cards awhile ago and keep forgetting to share them! They were a set of cards made for Jim's Mom to give to a friend of hers.

The chicken was cut from the Country Life cartridge. The cut is on page 44. I did some inking around the edges (I know you are SHOCKED!). I am sorry I don't have more photos in the cards in stages, but sometimes I get so busy I forget to take pictures. I think everyone can appreciate that.

Let's have a look-see:


Here is a look at the chickens in the early stages.
Then we skip a BUNCH of stages.


I used the computer to make the "how are you..." sentiment.
All paper is from The Paper Studio Farm Fresh stack.


I stamped a crow or raven (you decide) on the back of each envelope.


I used my Martha Stewart Custom Stamp set to make the 'Lone Hickory Farm' stamp.
The chickens were adhered with foam dots for dimension.
All cards are blank on the inside.

I wish I could offer more details. I guess we'll consider this one an inspirational post?
If you have questions please ask though.

I hope each of you are cock-a-doodle-doing well on this sunny (it is here) afternoon!
Thanks for stopping in!!!
~Jen

Monday, April 23, 2012

A bridal shower gift

Holy Moly! It says it has been like 12 days since I've posted! I have thought about you daily, but I was taking advantage of the sunshine and getting some work done outside. Then it rained. I needed the rainy day to catch up on the inside stuff! I love driving myself crazy! Somewhere in there I also went to a bridal shower for a friend of ours. Jim and I both had a hand in the making of the gift! Steph (yep the one I mention often!) was in on the gift too. We decided on what we wanted and sent Jim off to the shop! :) Don't let him fool ya, he loves having his best gal pal in the house, even if we do gang up on him.

We wanted a box our friend, Nicole, could set on her counter and set a cookbook on top of. We also wanted the box to open up. (we don't ask for much right?)

Downstairs he went, sketch in hand. He sorted through the pieces downstairs and found 'the ones' for this project. It turned out FANTASTIC!! So much so, in fact, Jim said he didn't want to see it go! I have that problem often. It turned out great! Let's take a look shall we?


the top
Jim's favorite part is these boards on the top!


the side


the back


the inside


the bottom
felt pieces were added to the bottom so it won't scratch the counter

Awesome isn't it?
We aren't done though. We can't very well gift an empty box can we?

Onward then!

Every girl needs thank you cards, especially a bride!
I pulled out these three stamps from an old Stampin' Up set.
The set is called Flowers.


There were three different designs...


I made a couple 'trial' ones and sent text messages to Steph.
We had preferences, but I still couldn't decide...


So Nicole received a handful of each design.
She can be the one to decide!


All bundled up!
If you have followed my cards, you know I like to put a stamp on the back of my envelopes.
The butterfly in the upper right hand corner was stamped on the back of the envelopes.

Let's take a peek inside the box...


Jim's Mom told me a girl NEEDS to have a napkin drawer.
Nicole's box has plenty of napkins!
Steeler napkins
Coca Cola napkins
Beachy napkins
Paisley napkins
Birthday napkins
She also received measuring cups and spoons.
A flour sack towel {LOVE THEM}
and some stamps for her thank you cards!

Pretty cool gift if you ask me!

What would a gift be without a card?


Nicole's colors are pink and green...
Sometimes it pays to have a paper OBSESSION!
I found pink and green paper!

I used the the new Stampin' Up Take it to Heart set.
This was one of the sets in that big box I told you about awhile back.
I stamped in pink and green.
I used my heart punch on the one that was the same size as the punch
and used scissors to cut the others. Nothing hard or tricky here!


I tied a piece of pink ribbon around the pink and green paper.
Adhered the pink and green paper to the card base.
Added foam dots to the backs of the hearts.


Adhered the hearts to  the card.
Added a sentiment. YIKES! That looks horrible!!!


Take two! 
In paper crafting there is almost always a way to cover up a whoops!
(oh shoot, the cat is out of the bag, now nicole will be taking her card apart to see if i am telling the truth)


I had nothing to do with the flowers...BUT!!!!!
Steph did!!!! She's getting her craft on pretty well isn't she?


A look at our lunch choices!
If you really need to know, I had the burger.
It was DELISH!


The bride to be reading the inside of her box.
It was stamped and signed by Jim and signed by Steph and me.

It was a nice time!
Our gift wasn't the only one that rocked, but it was close. (he he he)
It won't be long now Lady!!!
Congratulations again!!!

Partying here:

Pink Hippo Party

Wednesday, April 11, 2012

When life hands you lemons...part 2

Have you tried the lemon curd recipe yet? It is so delish!!! In this post I am sharing the lemon cake recipe we Jim made. It was divine with fresh berries and homemade whipped cream.


Straight from the oven!


On the platter waiting to be cut!


On a plate with all the other goodies!!!

Here's the recipe:

Thanks for stopping in. Just like the other day I would love to hear about you trying these recipes. Share with us on Facebook!!!

We're almost over the hump and the weather is looking up, at least for me!
hugs 
Jen

Tuesday, April 10, 2012

When life hands you lemons...part 1

If you are reading this, that means you survived Easter!  I am sure that was easier for some of us than it was for others.

I came home from the grocery store on Friday with not one, but two bags of lemons. Farm Girl Sam had a post the other day about an English lemon cake. It got me thinking about a lemon pound cake. Lemon this, lemon that. In this post I am sharing a lemon curd. It is yummy yummy!


I came home with two bags of lemons based on the number of lemons needed for the lemon cake


The lemon curd recipe starts out:
Using a carrot peeler, remove zest of 3 lemons, being careful to avoid the white pith.


Put the zest in a food processor fitted with the steel blade. Add the sugar and pulse until the zest is very finely minced into sugar.

It smelled delightful at this point. I told Jim I was taking it into the bathroom to use as a facial scrub.
He looked at me.
I didn't use it as a facial scrub.


the step that there isn't a picture of:
Cream the butter and beat in the sugar and lemon mixture.
Add the eggs, 1 at a time, and then add the lemon juice and salt.
Mix until combined.
Pour the mixture into a 2 quart saucepan and cook over low heat until thickened.


Cooking about 10 minutes, stirring constantly.(we shared the stirring duties) The lemon curd will thicken at about 170 degrees F
or just below simmer. Remove from heat and cool or refrigerate.


Isn't it beautiful?
The house smelled so lemony fresh.
I am sure it would be great on toast, but my Step-Mom left us some homemade rolls and I have been having my curd on the rolls. I guess I will test the toast theory out when the rolls are gone.
The recipe is from Ina Garten on the Food Network.
I love love love most of her recipes.

Here's the recipe:

Ingredients

  • 3 lemons
  • 1 1/2 cups sugar
  • 1/4 pound unsalted butter, room temperature
  • 4 extra-large eggs
  • 1/2 cup lemon juice (3 to 4 lemons)
  • 1/8 teaspoon kosher salt

Directions

Using a carrot peeler, remove the zest of 3 lemons, being careful to avoid the white pith. Put the zest in a food processor fitted with the steel blade. Add the sugar and pulse until the zest is very finely minced into the sugar.
Cream the butter and beat in the sugar and lemon mixture. Add the eggs, 1 at a time, and then add thelemon juice and salt. Mix until combined.
Pour the mixture into a 2 quart saucepan and cook over low heat until thickened (about 10 minutes), stirring constantly. The lemon curd will thicken at about 170 degrees F, or just below simmer. Remove from the heat and cool or refrigerate.
I would love to hear from you if you try it!
Tell us your story on our Facebook page!!!
I hope to see you all soon!!! Next up is the lemon cake recipe!

LinkWithin

Related Posts Plugin for WordPress, Blogger...