Showing posts with label Freshly Picked. Show all posts

Wednesday, May 16, 2012

Freshly Picked - Flower3

Hey! Are you surprised to see me? Something had to give, and unfortunately it was the blog. Between working, making/selling Mother's Day Cards, bridal shower gifts, starting graduation stuff and cleaning up and working on the backyard/garden...life has been CRAZY!!!! Crazy good, but crazy!

Here is another cut from the Freshly Picked cartridge. I used it to make Mother's Day cards. I think it would also make cute birthday cards or any sort I'm thinking of you card. Here is the rough draft.


After I decided I liked how it went together, I cut out a bunch!!


I used my Gypsy to weld two shadow pieces together for the card base.
All other layers that I cut are shown above.
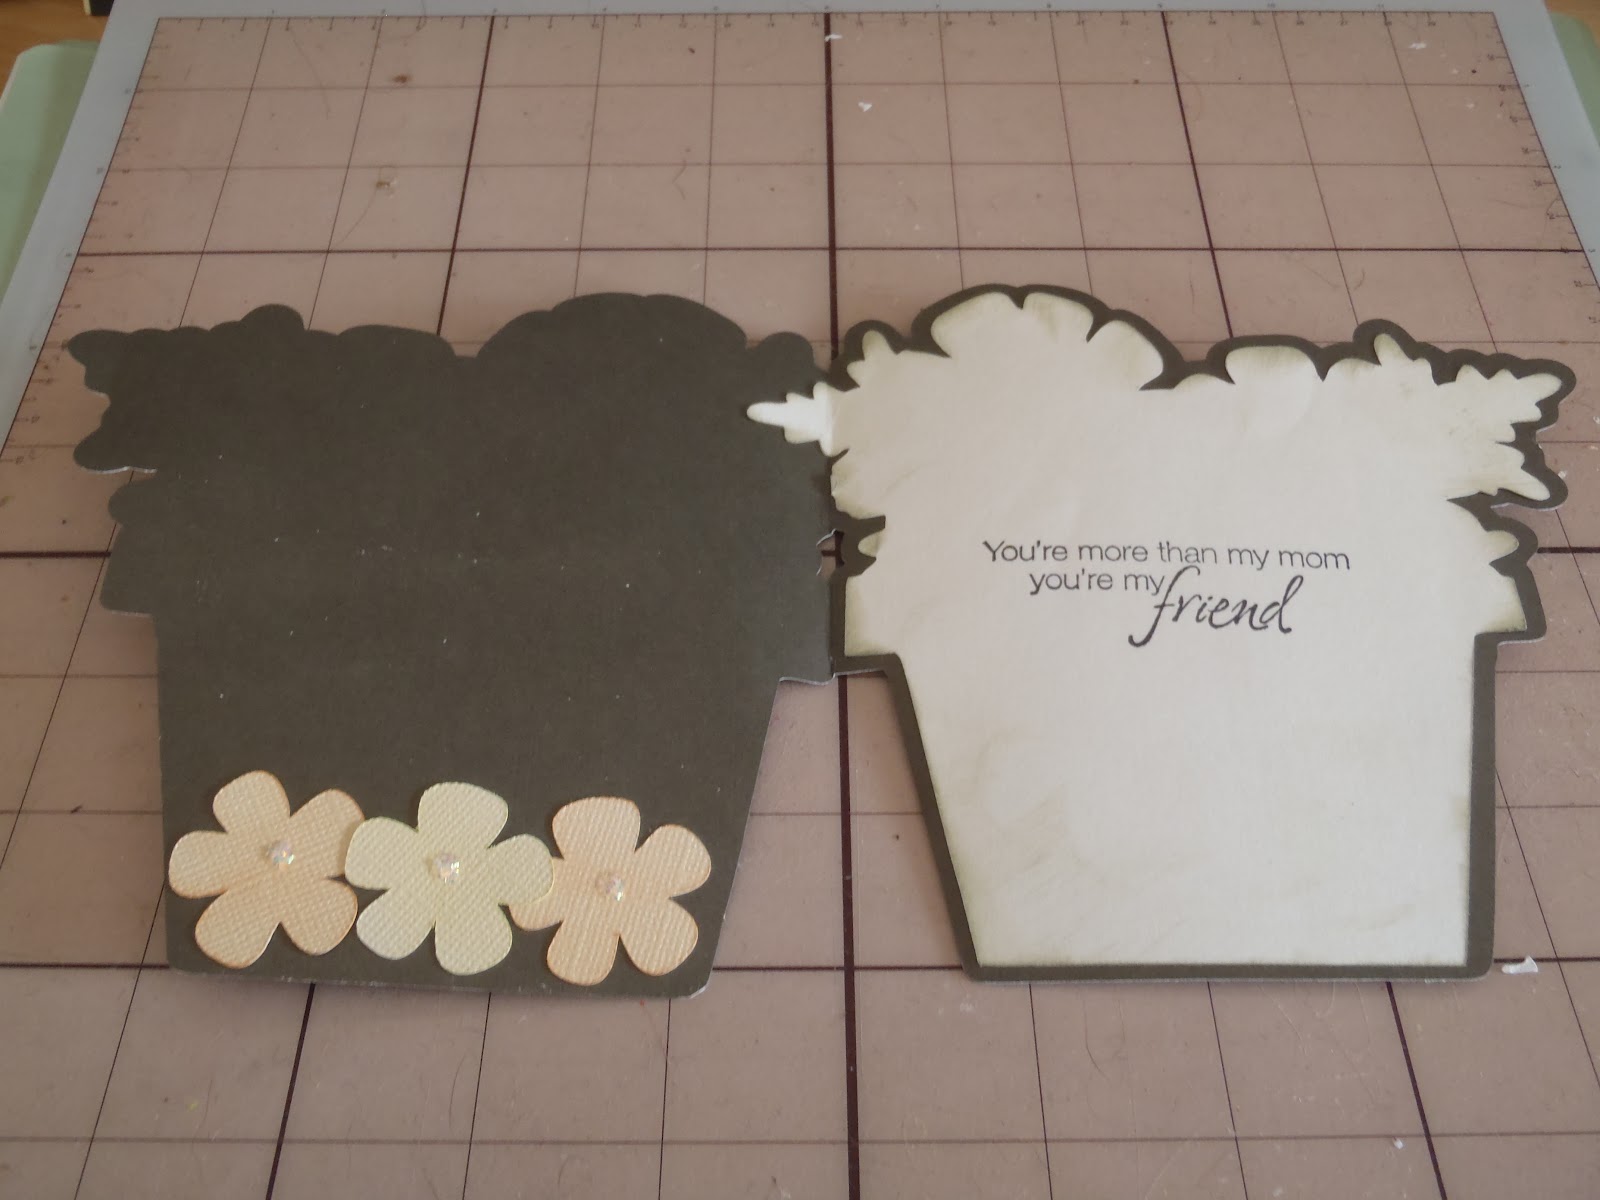

The inside of the rough draft.
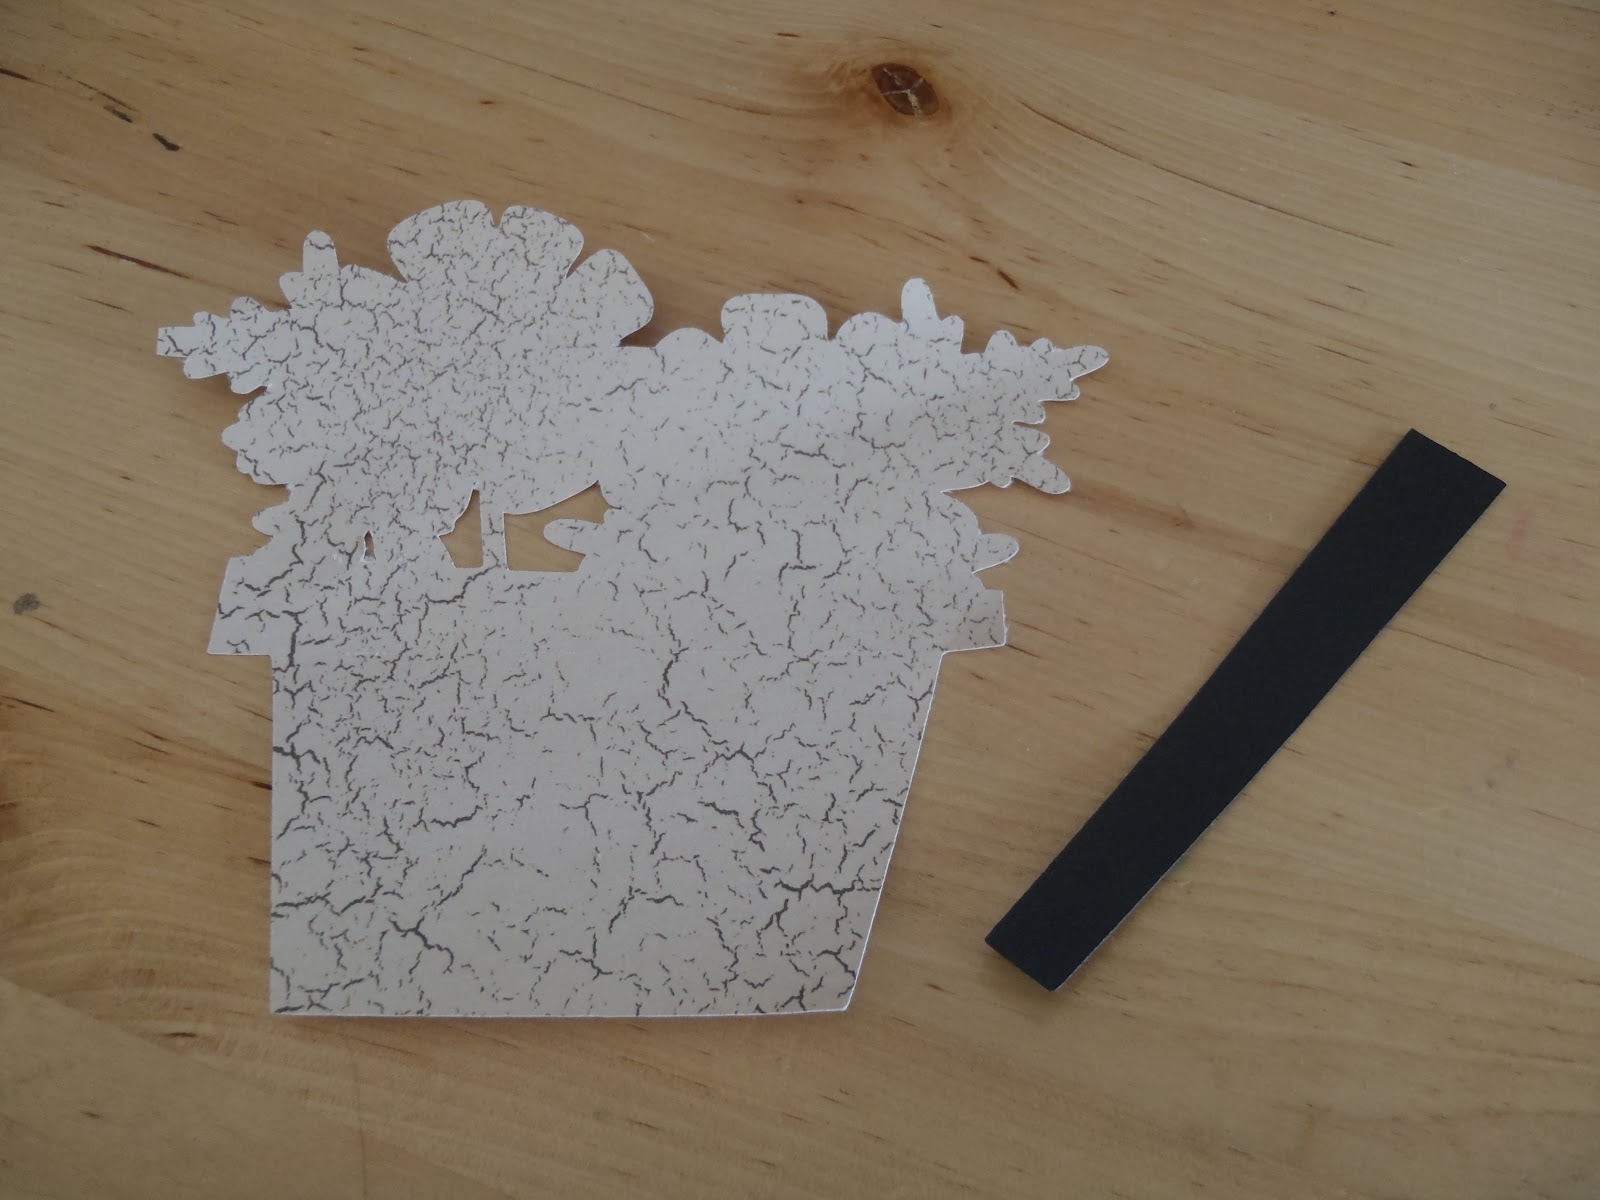

The first two pieces I adhered together were these two.


I cut this layer out of different patterned papers. I wanted to see how both would look!
I like them both. I do think I like one more than the other. How about you?


I inked around the edges of most layers to add some dimension/depth.


Added the flowers.
I did use foam dots between layers to give it even more depth/dimension.


These ones are waiting to be attached to the card base.


Attached to the card base and with sentiment.


Waiting for outside sentiment.


A different outside sentiment.


Here's a peek at all 4 done with their envelopes.
I ended up having to make envelopes for these cards because the envelopes I had on hand
were 1/4 inch too small. I will do an envelope post all by itself.
I do love the effect of the coordinating envelopes though.


Most of the cards had the sentiment seen above.
I inked around the edges of this layer with ink that matched the flowers on the front of the card.
As always, I added a little stamp to the back of my envelope.


I always sign my cards and add some sort of fun stamp to the back of them too.

I think these cards turned out fantastic. The pictures truly don't do them justice.
I have lots I want to share so lets hope things are settling down a little bit and I can share and catch up with all of you. Not only have I neglected my blog, I've neglected all yours too. I'm very sorry.

I hope all your projects are going well!
Thanks for stopping by!
hugs!!!! ~jen

Tuesday, April 3, 2012

Freshly Picked - Mushrooms

Another sunny day in Western PA. The nice bright sun helps make the chill in the air ok.
Today's Freshly Picked Cricut Cartridge feature is on page 34, the mushrooms.


Here are the cuts. My cut size was 4.5 inches.


I inked the edges of the mushrooms and the spots.
I used the glue pen shown to adhere the underside of the shown mushroom.


I used pop dots, dimensional, foam adhesive, whatever you would like to call it...
to adhere the spots to the mushroom.


I inked the edges of the green mushroom too.
I used the same glue pen to adhere the underside of this mushroom as well.
I also used a foam dot on this spot.
I used a white gel pen to add the dots on the spot.

This cut could make a cute card for a fungi.
get it...ha ha ha {giggle} a fun guy.

Thanks for stopping in.
I {love} comments!!!

Monday, April 2, 2012

Freshly Picked - Geranium

Here is the geranium from the freshly picked cartridge. The geranium is on page 31 of the handbook.


Here is the screenshot of my Gypsy.
When it comes time to put my paper on my mat, I have to turn my gypsy the same direction 
as my or I end up doing really dumb things. :)


my mat all ready to go


the cuts and their pieces


All put together.
The little flowers on the pot are the cut outs from the geraniums.
I thought they were too cute to toss and no better time to repurpose them than the present!

I think this geranium cut could make some super cute cards!!!!!
Get well, birthday, thinking of you. As I sit here and look at it, it could be good for Mother's day too - especially if gifting a geranium.

Let me know what you think!!!!!

Up next will be the mushrooms on page 34.
Hugs, Jen

Saturday, March 31, 2012

Freshly Picked - rose bush

Seriously!?! Why is it the weekend goes by so quickly? So many projects/ideas/slacking off/misc. things to do and the time just flies by.  ZOOM! It is Saturday night already. 


We've been busy though. More on that later! This post is the first of many about the Freshly Picked Cricut Cartridge. This was one of my early on cartridges...back when I was afraid of my Cricut.  Anyone else out there HAVE to HAVE the thing and then you got it home and made your first cut and said some not so nice words and there it sat because you were disappointed??? That was me.


Freshly Picked. There are so many cute looking cuts on this cart.  I have some in mind that I actually want to use for our outside garden. They are in the back of the book, so I may do some jumping around.


Questions, suggestions, tips, ideas, etc. please leave them in a comment or send me an email. Have you done projects with this cartridge? Link 'em up over at the Facebook page (you can find it on the right) so we can all see them and encourage each other!!!


The first cut in the handbook is an apple tree. It looks quite similar to the rose bush. Since we have rose bushes, I chose the rose bush. The second cut is a cherry tree and it looks like it is similar to the apple tree and the rose bush. Perhaps at a later date I will cut these out. 


All cuts were made at 4.5 inches. It seemed like a good number. It will fit on a 4x6 card and it is big enough to see it. Who knows what, exactly, I will do with these cuts, but card size made sense.


The rose bush cuts are on page 30 of the handbook.


I cut all available layers for the bush itself and both layers for the sign function.


I put it together, and decided I should have used brown paper for the stem of the bush instead of black, but live and learn right?
I also used one of my little ink pads and inked the edges for extra definition. For fun, I added some yellow brads to the 'roses'. I don't think it looks much like a rose bush (with or without the brads) but it is still a cute cut. If you are wondering why yellow, well we have two yellow rose bushes out back. :)  The little green tag, perhaps that should say "tiny" green tag, could say "for sale" or "for you."


The rose bush is now glued on top of the shadow cut.
It is a nice finishing tough, I think. What do you think?
I inked the edges of the sign before adhering the two pieces together. At 4.5 inches the sign is VERY big in comparison to the rose bush.

The geranium cut will be next!
Thanks for stopping in!
Let me know you were here and don't forget to like us on Facebook!

Hugs
Jen and a sleeping Jynx
linking up here:

LinkWithin

Related Posts Plugin for WordPress, Blogger...