Tuesday, April 3, 2012

Timberrrrrrr!

We cut down a tree over the weekend. We don't like cutting down trees, but this one was blocking the sun from the spot where we want to expand our garden.

I would show you pictures of tree, but we liked it so much we couldn't locate any pictures of it. I know there is at least one picture of it, but that picture is on a disc because it was on my old computer and I can't place the discs right now either.


Jim looking at the tree.
The blue tarp...oh I don't think I ever did that post.
That is part of 3 yards dirt/mushroom compost


Not sure what he's looking at, but...
you can see the garden behind him. We haven't had much luck here 
and by taking the tree down our success should at least improve...


Getting serious now!
We are going to put in a row of berries to help hide the compost pile. 
It is such a lovely site from the street. he he he

No pictures of the tree coming down, I had to hold the rope to help guide the branches.
I couldn't figure out how to do both at the same time....so much for being super woman...


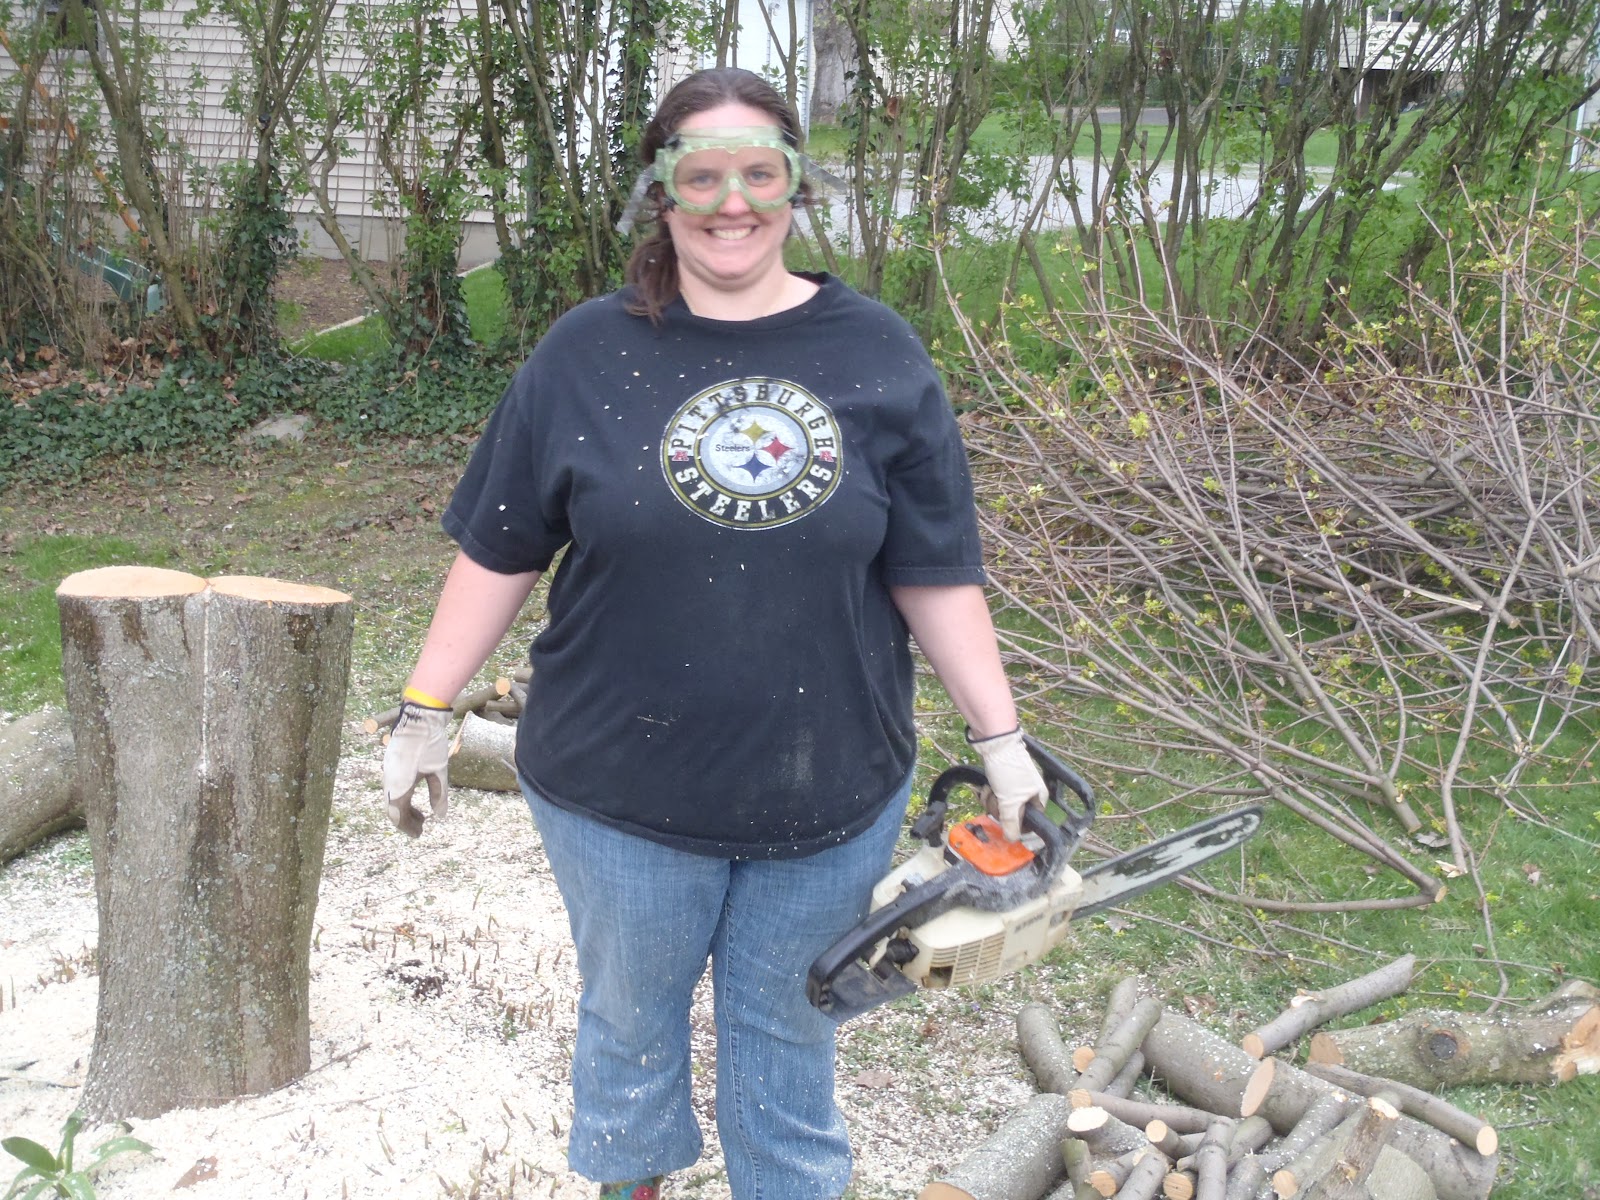
 I {DID} get to use the chain saw though.
You can almost see my new and super cute garden boots.
I will have to make a post about them too.
So many thoughts, so little time.


and a couple cheesy photos for you, my blog friends...


I know you are jealous of how good I look in those safety glasses...


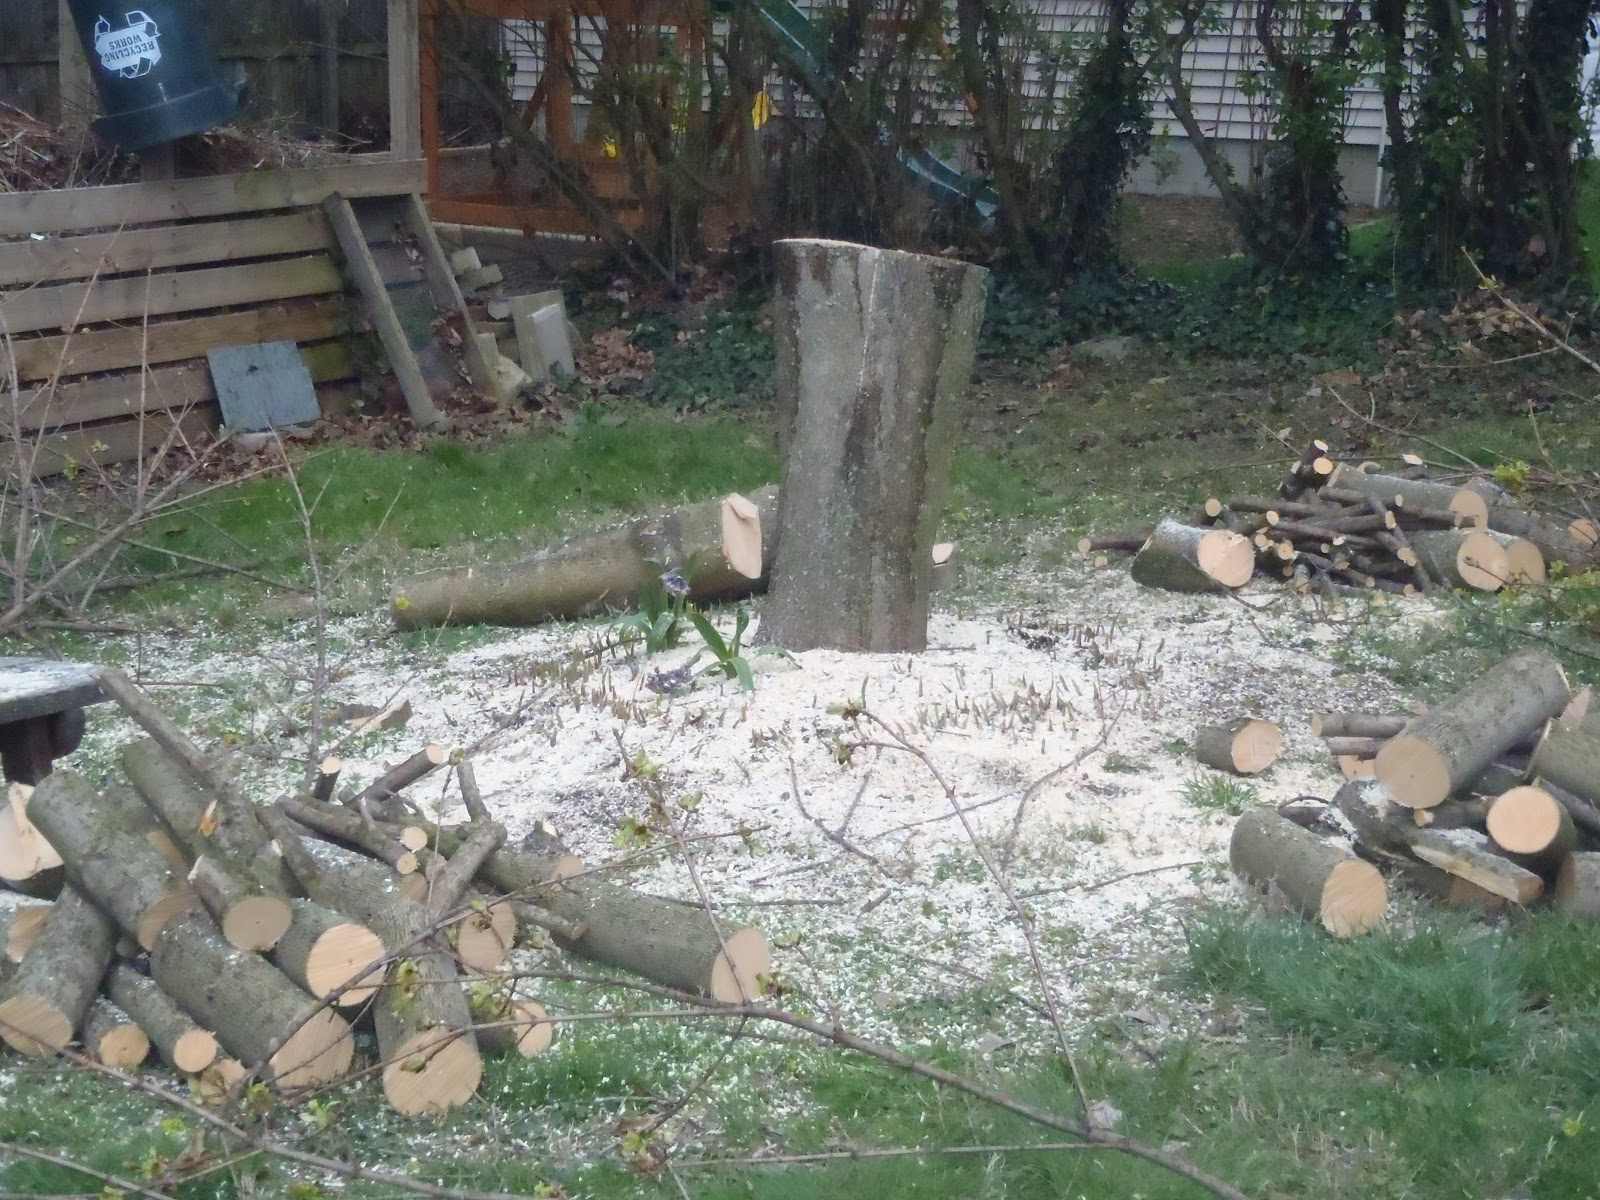
I should have taken a picture of the aftermath.
It was kinda neat, with the way the branches came down it was like a fan.
Sometimes you just forget about the camera when there is a task at hand.
Under all sawdust mulch is the lily of the valley.
We are leaving the stump there. It is either going to be a home for a bird bath or a planter of some sort.
It might need some leveling but that will depend on what goes there.
Now we just need Jim's Mom and Step-Dad to bring the tiller so we can expand the garden and 
I can start laying it out. I have parts of it done in my head, but kinda hard when there are plenty 
of things distracting you.

Now we have more firewood, let the backyard 'campfires' begin!!!!

Monday, April 2, 2012

One stamp, some scraps, three cards

It is a beautiful day here in Western PA. I admit it, I sat on the back deck in my shorts, tank top, and sunglasses and closed my eyes for a few earlier. I'm pretty sure I could have taken a nap like that. Our backyard is west facing, that means there isn't a shortage of rays (as long as that nice warm ball of fire comes out for the day)

The peas are growing, as are the beets. I'm a little worried about the spinach seeds. I am wondering if perhaps they didn't receive enough water. I didn't plant the whole packet so we have a second chance if needed. The carrots and onions were planted over the weekend. I planted the chard today. I planted some flower seeds over the weekend too.  Everything will need covered tonight, we are expecting a frost after 2 am.

Enough about the garden. Let's get crafting shall we?

I used a stamp from Inkadinkado to make the following cards. The card bases were premade. Any other paper on the cards came out of the scrap drawers. I have recently cleaned out those drawers and given paper away, but they are still overflowing...ah I love paper!


I did use embossing powder and a heat gun on the stamped image. You can't necessarily tell that from looking at the pictures, but I promise I did.

I hope everyone made it through Monday! If the sun is out where you are, I hope you took a couple minutes and got a couple minutes of peace and vitamin D!

linking up here:

Hugs ~ Jen

Freshly Picked - Geranium

Here is the geranium from the freshly picked cartridge. The geranium is on page 31 of the handbook.


Here is the screenshot of my Gypsy.
When it comes time to put my paper on my mat, I have to turn my gypsy the same direction 
as my or I end up doing really dumb things. :)


my mat all ready to go


the cuts and their pieces


All put together.
The little flowers on the pot are the cut outs from the geraniums.
I thought they were too cute to toss and no better time to repurpose them than the present!

I think this geranium cut could make some super cute cards!!!!!
Get well, birthday, thinking of you. As I sit here and look at it, it could be good for Mother's day too - especially if gifting a geranium.

Let me know what you think!!!!!

Up next will be the mushrooms on page 34.
Hugs, Jen

Sunday, April 1, 2012

A paper bag album "how to" in memory of my Grandma.

I've been contemplating today's post for awhile. I've been trying to figure out what I was going to say or do. How much is too much, don't be wordy. Is it enough. All foolish questions, but questions (and many others) that crossed my mind, none the less.

April 1st 2008, a day I remember all too well.  There are things, moments, conversations, actions, that I can remember pretty much word for word. I can see it all, like it was yesterday, but in fact, it has been 4 years. (Good thing you can't see me because I'm crying already.../biting lip)

Four years ago today my Grandma passed away. I was the first one in the family to find out. My poor Grandfather was probably one of the last to find out since he was on his way to the hospital at the time. Anyway. She had been in the hospital, but that doesn't really make it any easier.

I was the first one to find out. That meant I was now the one that had phone calls to make. Awkward phone calls. How do those words come out in the "right way?" I'm still pretty sure they didn't, but that is how the conversation went and I believe I apologized to the recipient of my first phone call. Things you aren't prepared for...

My Grandma was an amazing lady with plenty of style and class. Me in my jeans and hoodie is no reflection on my Grandma's style. She always looked nice, dressed down to her, was dressed up to most of today's young people. I know better, I just choose to be lazy.

Grandma had been in the nursing home due to a wound that wouldn't heal and lack of strength, and who knows what else. There were many things Grandma and Granddad kept from us, we shouldn't have to worry about things like that and besides "Grandma always gets better." A fighter she was. She fought against one medical issue after another for most of her life. She proved the doctors wrong time and time and again.  She was told she wouldn't get to watch her own kids grow up. Guess what! She sure proved those doctors wrong because her oldest Granddaughter was in her 30's. (Yep! I'm a 30 something)

For Christmas 2007 I made a paperbag album for my Grandma. It seemed like the perfect thing for her to be able to look at over and over (at least it was my hope she would, and she did. Anytime I stopped to visit it was either in her hands or within arms reach)

I have this book now. It sits on my shelf that I got for Christmas (hmm, did I ever share that picture with you? I kept telling you I would and now I don't think I did. hmm...) Before that it sat in the bag that my Grandfather had it in when he gave it back to me. I took it down off the shelf earlier and it seems that adhesive doesn't last forever either. I will be re-adhering some of the pages.

Have you made a paperbag album before? It was fun and they seem perfect for so many things. I am going to share mine with you and I wanted to show you how to make one, but...it seems this post is getting lengthy. I looked around to see if I could find some tutorials for you. I found two I was happy with sharing. There are lots of pictures out there and plenty that would show you how to get it done, but they didn't seem 'worthy'. Is that horrible? I hope not, I only want to share the best.
The first is my blog friend Gen at Cabin Fevered Gem. That link will take you to a paper bag album she made. Her post also has a video link for a how to. Wander around her blog she has lots of great ideas.
Can you believe that is a paper bag? Hop over to Gen's and check it out. I think it is lovely!

I am also sharing Dirt Cheap Decor's link. They have a non-video how to. We aren't bloggy friends yet, but I can tell you they are sitting here waiting for me to wander around their blog and I'm most certain we'll be friends before I walk away from the computer!!!


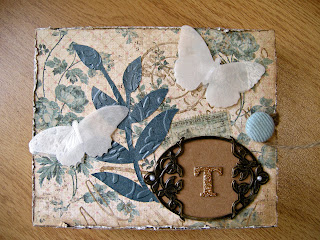
Here is the one I made for my Grandma. Who knew that something made to help comfort her would turn around and help comfort me.


There a number of ways to bind them together. I used a hole punch and ribbon


One of my high school graduation parties was at this Grandma's house.
I included pictures that she had put on the poster board of pics for the party.


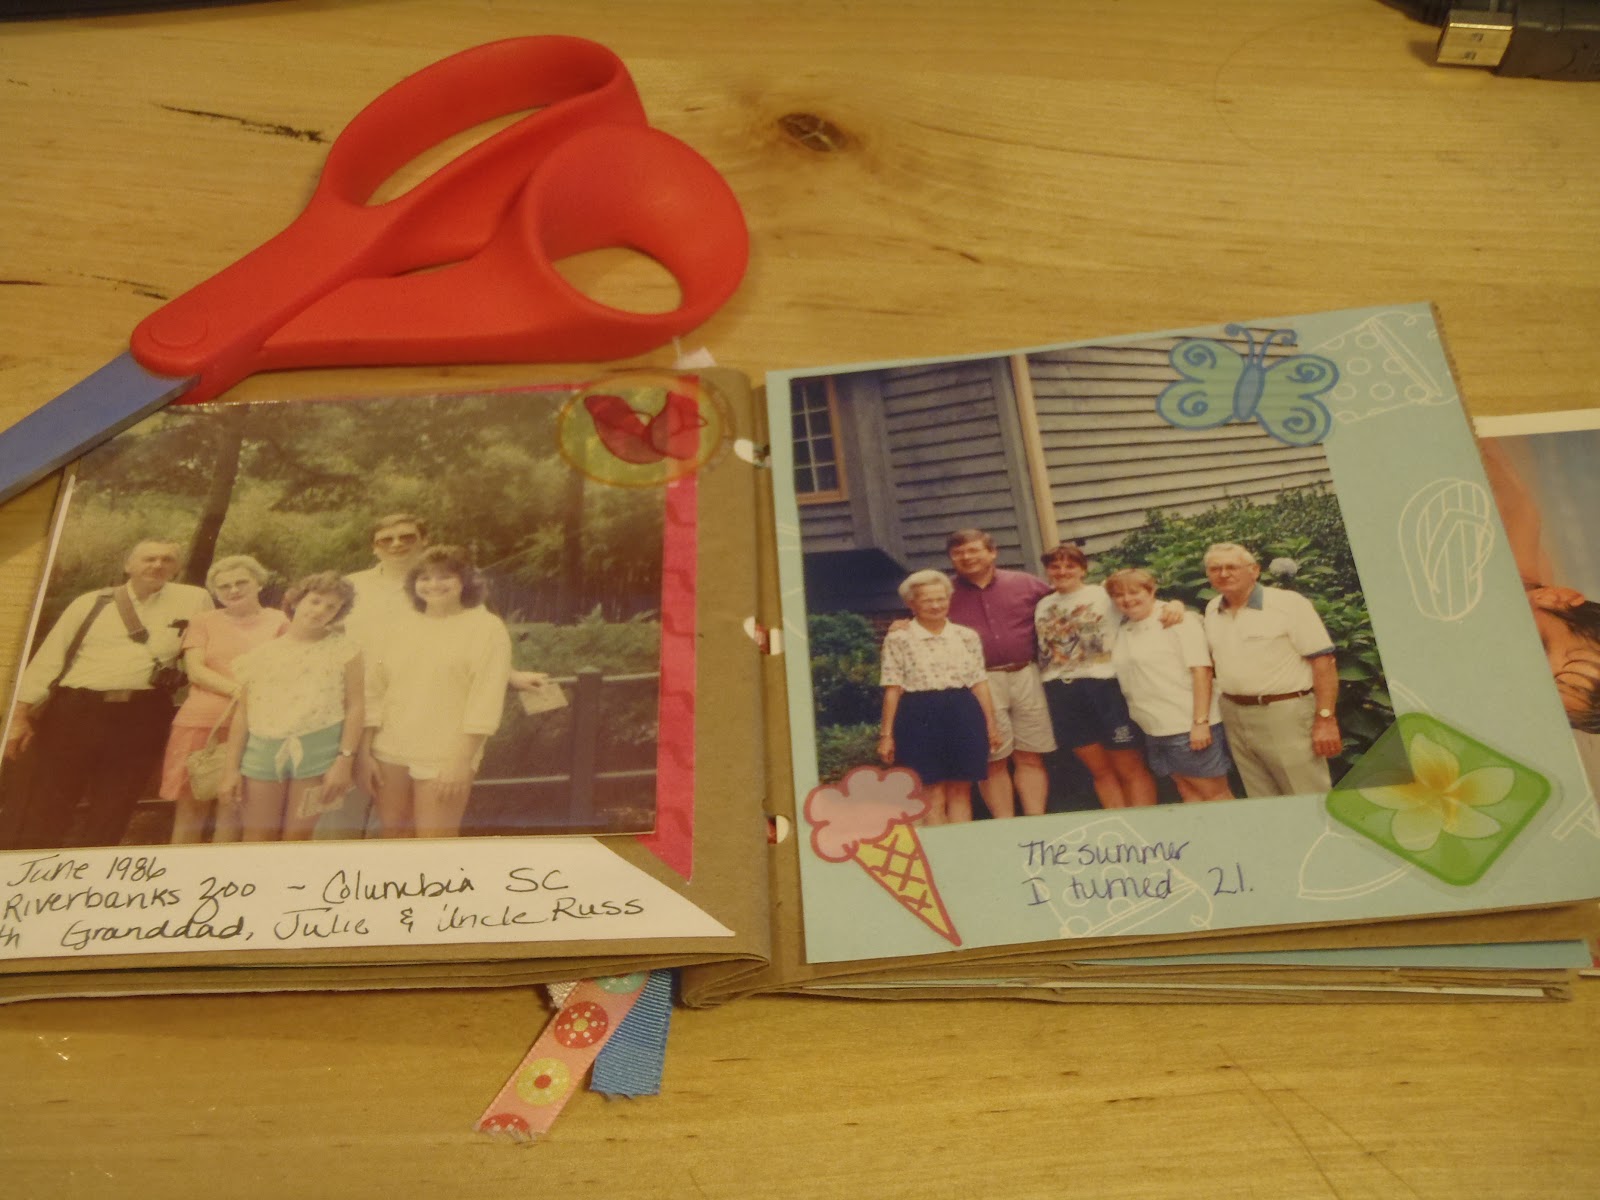
My love of travel had to come from my Grandparents.
We would travel to South Carolina each summer to see my Aunt.
Road trips with the Grands...love the memories.


The bags get placed together in opposite directions.
It leaves the open end the opportunity to be used as a place to tuck things in...
...like the post card below
and a note you can't see in the pic.
The note is about our road trips!


...like this post card. She was a funny one!
I promise you if I were to have taken a picture of the other side you 
would see my Grandmother's cursive writing.
My Aunt moved to Florida (right before I moved to SC).
The post card was sent from Grandma visiting in FL to me living in SC.


This pic was taken at a plantation in SC.
This particular visit, I met them at Aunt Kaye's.


With both of my Grandma's for my college Graduation
and
a one of my all time favorites...me and Grandma at the beach!


Another pocket. This one has a note about Christmas memories in it.


It was the early 90's don't judge that hair!!!


It was super fun to do and I can't believe I haven't done more.
Perhaps I should, and take pics each step of the way...
I think they would be great for so many things.

***tissue alert***

This one was perfect for Grandma and is now perfect for me.
I am off to give it some love with some stronger adhesive.
One thing I did do was make copies of the pictures.
Lunch bags are not archival safe so if you are wanting to preserve your pictures this isn't the best way.

I wish she could be here to meet Jim. She always said she liked looking up to tall good looking guys!
I wish she could be here to see what we have done to this house and the gardens when they are in bloom.
She is here in my heart every day!
It is supposed to rain today. Her tears from missing all of us will help the garden grow!
I love you and miss you Grandma!!!!
HUGS!

linking up here:


Sunday's Best Linky Party!

Saturday, March 31, 2012

Freshly Picked - rose bush

Seriously!?! Why is it the weekend goes by so quickly? So many projects/ideas/slacking off/misc. things to do and the time just flies by.  ZOOM! It is Saturday night already. 


We've been busy though. More on that later! This post is the first of many about the Freshly Picked Cricut Cartridge. This was one of my early on cartridges...back when I was afraid of my Cricut.  Anyone else out there HAVE to HAVE the thing and then you got it home and made your first cut and said some not so nice words and there it sat because you were disappointed??? That was me.


Freshly Picked. There are so many cute looking cuts on this cart.  I have some in mind that I actually want to use for our outside garden. They are in the back of the book, so I may do some jumping around.


Questions, suggestions, tips, ideas, etc. please leave them in a comment or send me an email. Have you done projects with this cartridge? Link 'em up over at the Facebook page (you can find it on the right) so we can all see them and encourage each other!!!


The first cut in the handbook is an apple tree. It looks quite similar to the rose bush. Since we have rose bushes, I chose the rose bush. The second cut is a cherry tree and it looks like it is similar to the apple tree and the rose bush. Perhaps at a later date I will cut these out. 


All cuts were made at 4.5 inches. It seemed like a good number. It will fit on a 4x6 card and it is big enough to see it. Who knows what, exactly, I will do with these cuts, but card size made sense.


The rose bush cuts are on page 30 of the handbook.


I cut all available layers for the bush itself and both layers for the sign function.


I put it together, and decided I should have used brown paper for the stem of the bush instead of black, but live and learn right?
I also used one of my little ink pads and inked the edges for extra definition. For fun, I added some yellow brads to the 'roses'. I don't think it looks much like a rose bush (with or without the brads) but it is still a cute cut. If you are wondering why yellow, well we have two yellow rose bushes out back. :)  The little green tag, perhaps that should say "tiny" green tag, could say "for sale" or "for you."


The rose bush is now glued on top of the shadow cut.
It is a nice finishing tough, I think. What do you think?
I inked the edges of the sign before adhering the two pieces together. At 4.5 inches the sign is VERY big in comparison to the rose bush.

The geranium cut will be next!
Thanks for stopping in!
Let me know you were here and don't forget to like us on Facebook!

Hugs
Jen and a sleeping Jynx
linking up here:

Thursday, March 29, 2012

Create A Critter Pig Birthday Card

If you follow on a regular basis, I know you are surprised I made another card with the Create A Critter cartridge. Ha ha ha ha ha! Did you at least crack a smile? I hope so!!!!

I needed a card for a good friend of ours.  She likes pigs, so the decision of what was going on the card wasn't very hard!

Here is the layout of my Cricut Mat...


Page 28 of the handbook. Some notes...


The end result!


The paper behind the pig was white and I ran it through my Texture Boutique with a Birthday folder and then rubbed a pink ink pad across it for the color. I love adding a little something to my envelopes. Here I added a Changito {I love that monkey}

I love love love comments and try to respond to them all (if your account is set up so I can). I look forward to hearing from you.

~Jen

Monday, March 26, 2012

A kinda sorta tutorial on how to make an Easter Card (any card)

FINALLY!!!! This might become known as the post that just didn't want to be.
That doesn't matter now though, because here it is!!

Every project needs a 'canvas' if you will. Cards are no different. 
Without the canvas, or in this case, the card base...what would we have?
 I GENERALLY use premade card bases. 
I believe some of the St. Patrick's Day cards were made with 'homemade' card bases.
I'm picky about the FEEL of my cards. I have purchased premade cards at stores or yard sales and gotten them home and been all sorts of disappointed when the feel just isn't right! Don't worry! Those cards aren't wasted, they go in the "scrap drawer(s)!" These cards still have a purpose in my craft space, just not as a card! It is kinda like putting the broken toys on the shelf - the 'they just don't feel right' cards go in the drawer.

So, pick a base. I have a couple different places that I shop that sell "just right" cards.
I am going to do another post on all the different sorts of "just right" cards sitting on my shelf.
Here are a couple.


 The lavender card on the right came out of the pastel pack on the left.

Let's gather some other basic supplies shall we?


 The embosser isn't necessary, but it was used in the making of these cards.
I also have numerous scissors. Big ones, little ones, decorative ones...all of them missing when needed, but I have them none the less! I would suggest a standard size pair and then a smaller pair for smaller cuts.
Using a black or brown ink pad and colored pencils helps with taking the minimalist approach.
There are many ways to get all that beautiful color on your cards.
I suggest starting simple. Colored pencils are great, and I love to color!!!!!!
I do use the watercolor pencils and a blender. This does affect the final result. 
I've moved on to this step. If you are just starting, get the black ink pad and the colored pencils.
Get comfortable with basic steps before changing it up.
I love learning new things (and am going to do my best to share things like that on here) but I didn't start trying new things until I was comfortable with some basics. You will know when it is time. You will also be able to see the changes and advancements in your own work and it is REALLY COOL when someone else mentions they have noticed you getting better.  *it will happen*


 We also need some additional cardstock, some ribbon and not needed but used in this card, little ink pads.
The little ink pads were something I had seen others using. I, of course, wanted to try them out.
All of them were either purchased on sale or with a coupon, OR BOTH!!! I'm stingy like that!

Do you want to stamp first or cut first? Hmm, let's cut first!
The lavender card base measures 4inches by 6 inches.
We need a mat 3 3/4 inches by 5 3/4 inches.
I cut a bunch at one time and put the ones that weren't the needed size in a pile all their own. 
They will be used for something else.


If you aren't embossing then you can skip this step, if you are embossing this what I did.
I took the 3 3/4 x 5 3/4 paper and ran it through the embosser.


Since I have a Cricut I didn't get an embosser that also functions as a die cutter.
The embosser without the capability of cutting is much cheaper.
Decide what your main purpose is, do some research, find a coupon and head to the store!

Let's stamp now, shall we?


I was making a bunch of cards at one time, so I stamped a bunch of images at one time.
The left picture is the plain stamped image. It is called the Resurrection Cross and is by Stampabilities.
The middle picture shows different stages of the coloring process.
The picture on the right is all images completely colored.

Time to cut again!
If you are a perfectionist, then you pick your own way and please don't judge because I'm not.
I like how different the cards can look when this one gets cut just a little different than that one.
Cut all the images out leaving however much space YOU desire on all sides. 


 Not necessary, but I inked the edges of this paper.
I think it adds some dimension to MOST projects.
Hmmmm, it looks like we forgot to get adhesive when we were gathering supplies!
Use the adhesive to stick the colored image onto the yellow paper.
and.... time to cut again.... 


Adhere the stamped image to the yellow paper.
Cut the yellow paper leaving your desired border on all sides.

Another thing I did (not necessary, but what I did)
 is use the little ink pad to give the embossed paper some color.
Just brush it across the paper.

Now we are going to cut and adhere some ribbon AND adhere the stamped image to the embossed layer
and then adhere all that to the canvas/card base!

I cut my ribbon a little longer than the width of the cardstock.
Turn the cardstock over and put a couple short runs of the adhesive and stick the ribbon to it.

Then adhere your stamped image to the embossed layer and the embossed layer to the card.

I used the smaller adhesive for the layers. To adhere all layers to the card base I used the bigger adhesive gun thing because it has stronger adhesive.


Stamping the inside is personal preference.
I (generally) cut another sheet of card stock to go on the inside.
I think it helps give it more a finished look.
Sometimes I use a mat or two for the inside sentiment, other times I just stamp right on the card stock.

SamIAm...thanks so much for asking a question and giving me a reason to use my brain in a different way.
I have learned from this post. Things to do different/better next time.
It has also made me think about the products I use and the steps I take.
I guess you brought out the teacher in me and for that I am grateful.
I am going to work on some other posts in a similar fashion.

Questions, comments, things you would like to see?
Maybe we can all learn together.

Some topics I'm thinking of
1. a little more on my 'just right' cards.
2. using a blender pen
3. adhesives

Thanks for being patient Everyone!!!
Are you getting ready for Easter?
~hugs, jen~
partying here:

The Taylor House


Pink Hippo Party


michellepaige

LinkWithin

Related Posts Plugin for WordPress, Blogger...