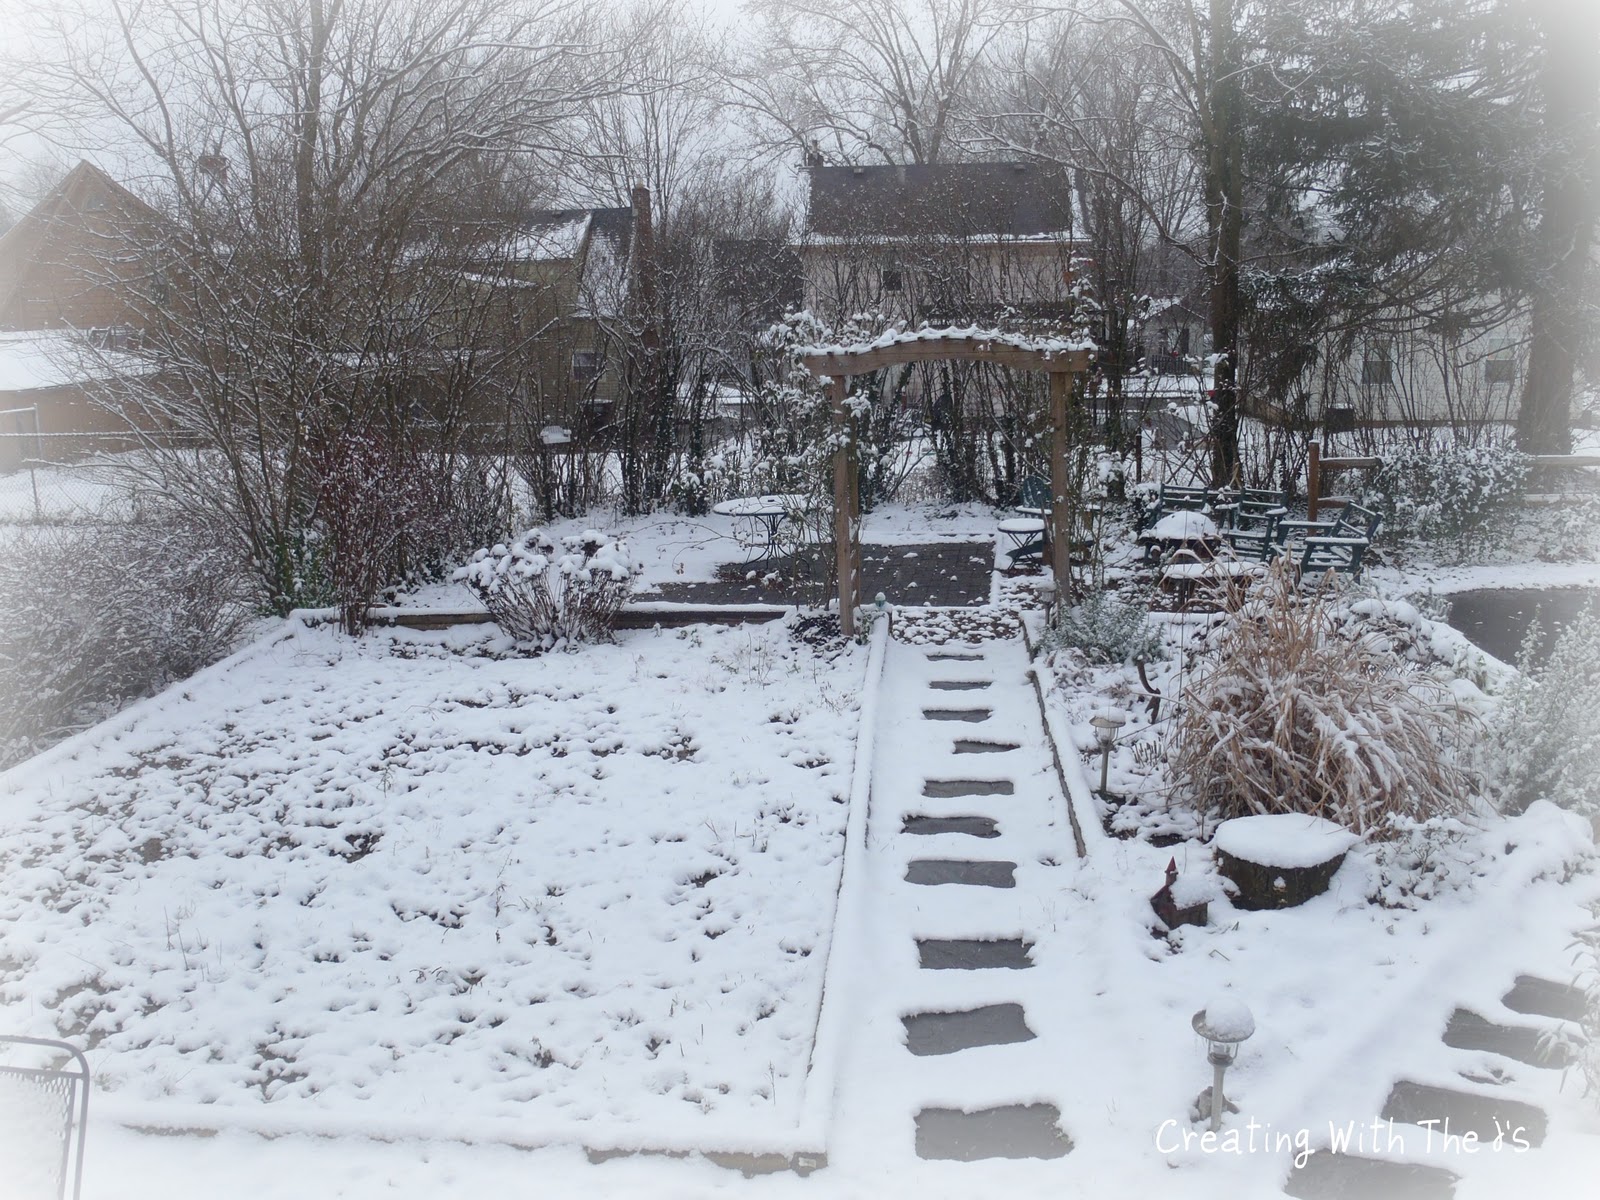
Thursday, January 12, 2012

Create A Critter Valentine #1

Thanks for stopping by. I have been busy making Valentines. All Valentines made so far have been made using the Cricut Create A Critter cartridge. I am going to give each Valentine its own post. Today is day number 1.

Today's Valentine was made using the 'accessory' cuts found on page 67. Both cuts were cut at 3 inches.


I added glitter glue to the {heart}
The cards are premade 4x5 cards.
The mat layer of paper is cut at 3.75 x 4.75.
The mat layer is from the DCWV Madly In Love stack.


Same cut. Same dimensions. Different paper, also from a DCWV stack. (possibly the same stack)


I cut a piece of what cardstock at 3.75x4.75 for the inside and stamped it with this Stampabilities stamp.

Thanks for stopping by. Stay tuned for more Create A Critter Valentines. Please leave some comment love. Have you started your Valentines?

Photobucket
xoxo
Jen

Sunday, January 8, 2012

A homemade Christmas

Well, the first week of the year is over. Another week closer to another round of Christmas chaos and fun. Don't hate me, you know you've thought about it.


I've been telling you I was going to share the gift I made for Jim for Christmas. We do a homemade Christmas exchange with his Mom, Step-Dad and Grandparents. We draw names at Thanksgiving and you have from then until Christmas or Christmas Eve (depending on when we celebrate Christmas with them due to travelling to see my family) to make a gift for your person. There is no set price limit. It just needs to be from the heart. It doesn't have to be crafty, it can be from the kitchen too. 


I really wish I would have taken pictures of all the gifts, but I didn't want to be the only one with the camera at Christmas and annoy everyone. /sigh  There were some great gifts this year!!!


I drew Jim's name. Doesn't that make for some fancy footwork. ;) Wouldn't you know that once I have a project to do for Jim they don't put him on the schedule to work very many nights. I was finishing his gift the day it was to be exchanged. There are still some things I want to do to it, but it made it to the point of being giftable. It was packaged and ready to go with an hour to spare.


I was in the basement after I drew his name and I saw this box sitting in the shop.


I couldn't just take it, so I asked if I could "borrow" it. I told him he would get it back, it just wouldn't look like this anymore. As I walked away with the box he asked that I take a picture of the sticker on top. *done*


My original plan was to cover the box with the Monopoly game board that I had picked up at a sale this summer. I got the board and all the game pieces out and sat here and looked at it...and decided this wasn't the project for the Monopoly game after all. The  Monopoly game is back in the attic.


Plan B involved pictures and mod podge. I printed a bunch of pictures onto paper (it mod podges easier). I put pictures on each side of the box. I would lay them out first before mod podging.


You can see the mod podge in this picture. Since I was no longer covering the box with something big, I worked the sticker (Jim's had this for awhile) into the layout. I also added stickers.


I put ribbon the whole way around and finished it with a button. There are pictures on all sides. I put a funny picture and a poem on the bottom. On the inside I wrote a note and included a picture. The pictures are of moments, places, friends. Each one can start a conversation.


That is the outside of the box. For the inside of the box I was inspired by this photo I came across on Pinterest.


Hers is done with Vintage Post cards. My monthly dividers were in a plain state at the time of gifting (and still are). Someday each divider will have additional photos or keepsakes relating to something that has happened that month.

...the inside contents...


Each day of the year (including leap day) was stamped onto a notecard.


Then I went through pictures, ticket stubs, old journals/calendars of my own (of which I couldn't find them all) and even Facebook, and wrote the year and something that happened that day. Some days go back to 2008, others are bare.  It was fun going back through that stuff though. I walked through the transformation of this house. That was interesting. I have been telling myself I would share the transformation during these winter months. I promise I will. Things, we did, places we went, visiting. It was fun to write all those things down in one place.

This really would make a great gift for so many different occasions. Do you journal in someway? I use a yearly planner and try to write something every day. 

Thanks so much for stopping by. Please leave a comment. :-)

Thursday, January 5, 2012

A Cars Birthday Party

We partied on New Year's Day! A birthday party for a very special 2 year old boy! Steph's (yes, the Steph I mention often) little boy turned two. The theme was Disney/Pixar's Cars.  Steph and I (and some help from Jim too) made the invitations.  Steph and I agreed on ideas for the tables and what sorts of decorations she wanted. She did the shopping and I went to work.

Let's take a look!

Here's the invitation:
We stamped the front...


The inside was done using Word... (and the thing this invitation is sitting on...a sneak peek at the Christmas present I want to share with you *smile*)


The birthday banner was cut out using the street sign shapes found on the Disney Pixar Cars Cricut cartridge. (I believe we went with 5.5 inches) The letters were cut out using the Plantin Schoolbook cartridge.


I cut out various other shapes from the Cars cartridge and put them on skewers. There is floral foam inside the buckets and I stuck the skewers into the foam.


The cuts on this cartridge are very intricate. McQueen was cut at a couple different sizes. I don't know if he is truly a pain in the bottom side or if I was too tired to be working on the project, but he ended up in the trash *gasp*
I do like how the buckets turned out. It was super windy the day of the party so some of the shredded paper covering the floral foam blew away.

The tables were decorated like roads...


Now I can't take credit for the cake, but it wouldn't be a party without a cake right? Here's the cake. It was done by our local bakery. I think they did a fine job!


Happy Birthday Buddy!!! Love and hugs from Uncle Jim and Aunt Jen {heart}
Steph, I hope the craftiness lived up to your expectations! It was fun (and I'm still taking over in October next year...love you too!)

Thanks so much for stopping by. I hope you will leave a comment. I am linking up at Someday Crafts for Whatever Goes Wednesday and Passionately Artistic

Monday, January 2, 2012

Happy New Year! and a card!!

Happy New Year Everyone! I know I am glad to close the door on 2011. While things could always be worse, we are truly hoping for some better times in 2012! We hope 2012 is a better year for everyone!!!!

Mother Nature has decided to start the year off with our first winter storm.  I had adopted the thought of "It didn't snow for Christmas, so it doesn't need to snow at all!" Well, Ma Nature feels differently.  It is pretty wild that we are this far into the winter weather season and this is our first major snow fall, with the most accumulation to come overnight. That brings a whole new meaning to "We'll see what tomorrow brings"

One day this week I will share with you one of the coolest Christmas presents I received. It has been hung, now it just needs photographed. :) I also need to share the gift I made for Jim, it too, needs photographed. The other thing I have to share is a post about a CARS theme birthday party. So-----as long as I sit down in front of this computer each night this week there will be some fun to be had! :-)

Since it was snowing out and Jim was working, I made a cup of hot peppermint tea and sat down to craft. I did make some cards this evening. Here is one of them.


The paper is from DCWV Madly in Love stack.
The stamp is from studio g and is stamped with Stampin' Up Very Vanilla.
The card was cut using the heart card from the Wild Card cartridge and was cut at 5 inches.
The black heart was cut using the Plantin Schoolbook cartridge and was cut at 2.5 inches.

The inside is blank because....I don't have a Happy Valentine's Day stamp. Oh darn!!! Gonna have to go shopping...
Have a great week and a Happy New Year!!!!
~Jim, Jen and Jynx

Wednesday, December 28, 2011

A Thinking of You Card

Hi Everyone! I hope everyone had a very Merry Christmas and made lots of memories! We had a very busy couple days which led to pure exhaustion, but the memories and the smiles were worth it. I will take some photos of my favorite presents and share them later.

Today  I am sharing a thinking of you card I made a few weeks ago. It was made for a friend and coworker that has recently been diagnosed with Colon cancer. ugh. Such a sweet sweet girl with a wonderful family and such horrible news right in time for the holiday season.

I used the owl frame on page 34 of the Storybook Cricut cartridge. The inside sentiment is from Fiskars "Laugh With Me Quotes"


As I was looking for a cut to use, I learned there are lots of neat cuts on this cartridge. :) I will be looking into it further.  Thanks so much for stopping by and have a great rest of the week! I am linking up here:


hugs ~Jen

Thursday, December 22, 2011

a Merry Chrismukkah card

So much to share, so few hours in a day right now. We will get back to regular posting after the first of year!

A friend of ours asked if I would make her a Chrismukkah card for a friend of hers. I, of course, agreed. The only thing she told she wanted was for it to say "Merry Chrismukkah." So often we would be thankful for the opportunity to have so much wiggle room when doing a project for someone else. I thought and thought and Google searched and searched. There aren't very many images out there to help light a little creative fire. Off to the handbooks for my Cricut cartridges I went. I finally decided on bird 3 on page 61 of the Winter Woodland cartridge.

This card had I think 4 different designs before the final one came to be. I should have taken pictures of each stage so you could see the transformation, but I didn't. :(

The blue was Jim's idea and I think it was a great idea! He's usually really good at coming up with a suggestion when I just don't know where to go next because I have been looking at it trying too hard for too long. :) Here it is.


I cut out two birds at two different sizes.  I used Stickles to make them sparkly (like the snow we don't have). The ornate white background paper was something that I've had for awhile. I've always thought it was cool and I've tried to use it on multiple projects and have never been happy with it. It finally stayed on a project. I used pop dots or dimensionals (whichever you choose to call them) between the card and the bottom bird and also between the birds.


Here's the inside. I don't have a stamp for this occasion so I went "old school" and used Word and my printer!  The font is Old English Text MT.


One more look.


I hope our friend likes it and I hope her friend likes it too! I hope you will let me know what you think. We hope you will enjoy whichever holiday(s) it is you will be celebrating!!!

Thanks so much for stopping by!!!! Linking up here:

Saturday, December 17, 2011

Oh Christmas Tree (s)

Well, the snow is FINALLY falling from the sky. December 17th and this is only the 2nd time snow has turned the ground white.  Rather crazy! Here is what it looked like out the back door earlier today.


Now that it is beginning to look like Christmas outside...Here is a little more Christmas inside - The Christmas tree(s)

Jynx decided she wanted to be part of the photo session!


You didn't really think there would be an angel or a star on top our tree did you? *I saw a really cool elf at TJ Maxx earlier and actually left her in the store /gulp* Anyway. The elf is holding a felt ornament made by {my Grandma.} the other ornament is a White House ornament given to us by a special friend that lives in D.C.

The tree in the living room isn't the only tree though. There is one in the kitchen.


I like how Santa is overseeing the confectionery ingredients!!! 


I LOVE the shadows of the elves. This elf has a much cuter shadow when it is a little darker and the kitchen lights are on. I giggle every night.

We have wooden Christmas trees made by my Grandma 


We can't forget the tree on the front porch. You can read more about this tree here!

There are a couple porcelain trees that light up and not nearly enough bottle brush trees throughout the house.

I also thought I would share a few things that are on our tree...


{Bubble lights}


An ornament from Jerusalem! I am pretty sure this is my most favorite thing that Barb gave me before she moved. 


This elephant has been on my Christmas tree for, well, ever!!!!


a spinner ornament. it is hung above one of the bubble lights. the spinner spins with the heat from the white lights, but it REALLY spins with the heat from the bubble lights

I do have some other things to share with you but they have to wait until after Christmas. Christmas cards and gifts can't be revealed yet.

Thanks so much for stopping by! I am on my way back to the kitchen to make more cookies and feed the sweet little Jynx.

Hugs and Best Christmas wishes!!!

LinkWithin

Related Posts Plugin for WordPress, Blogger...